Handmaid

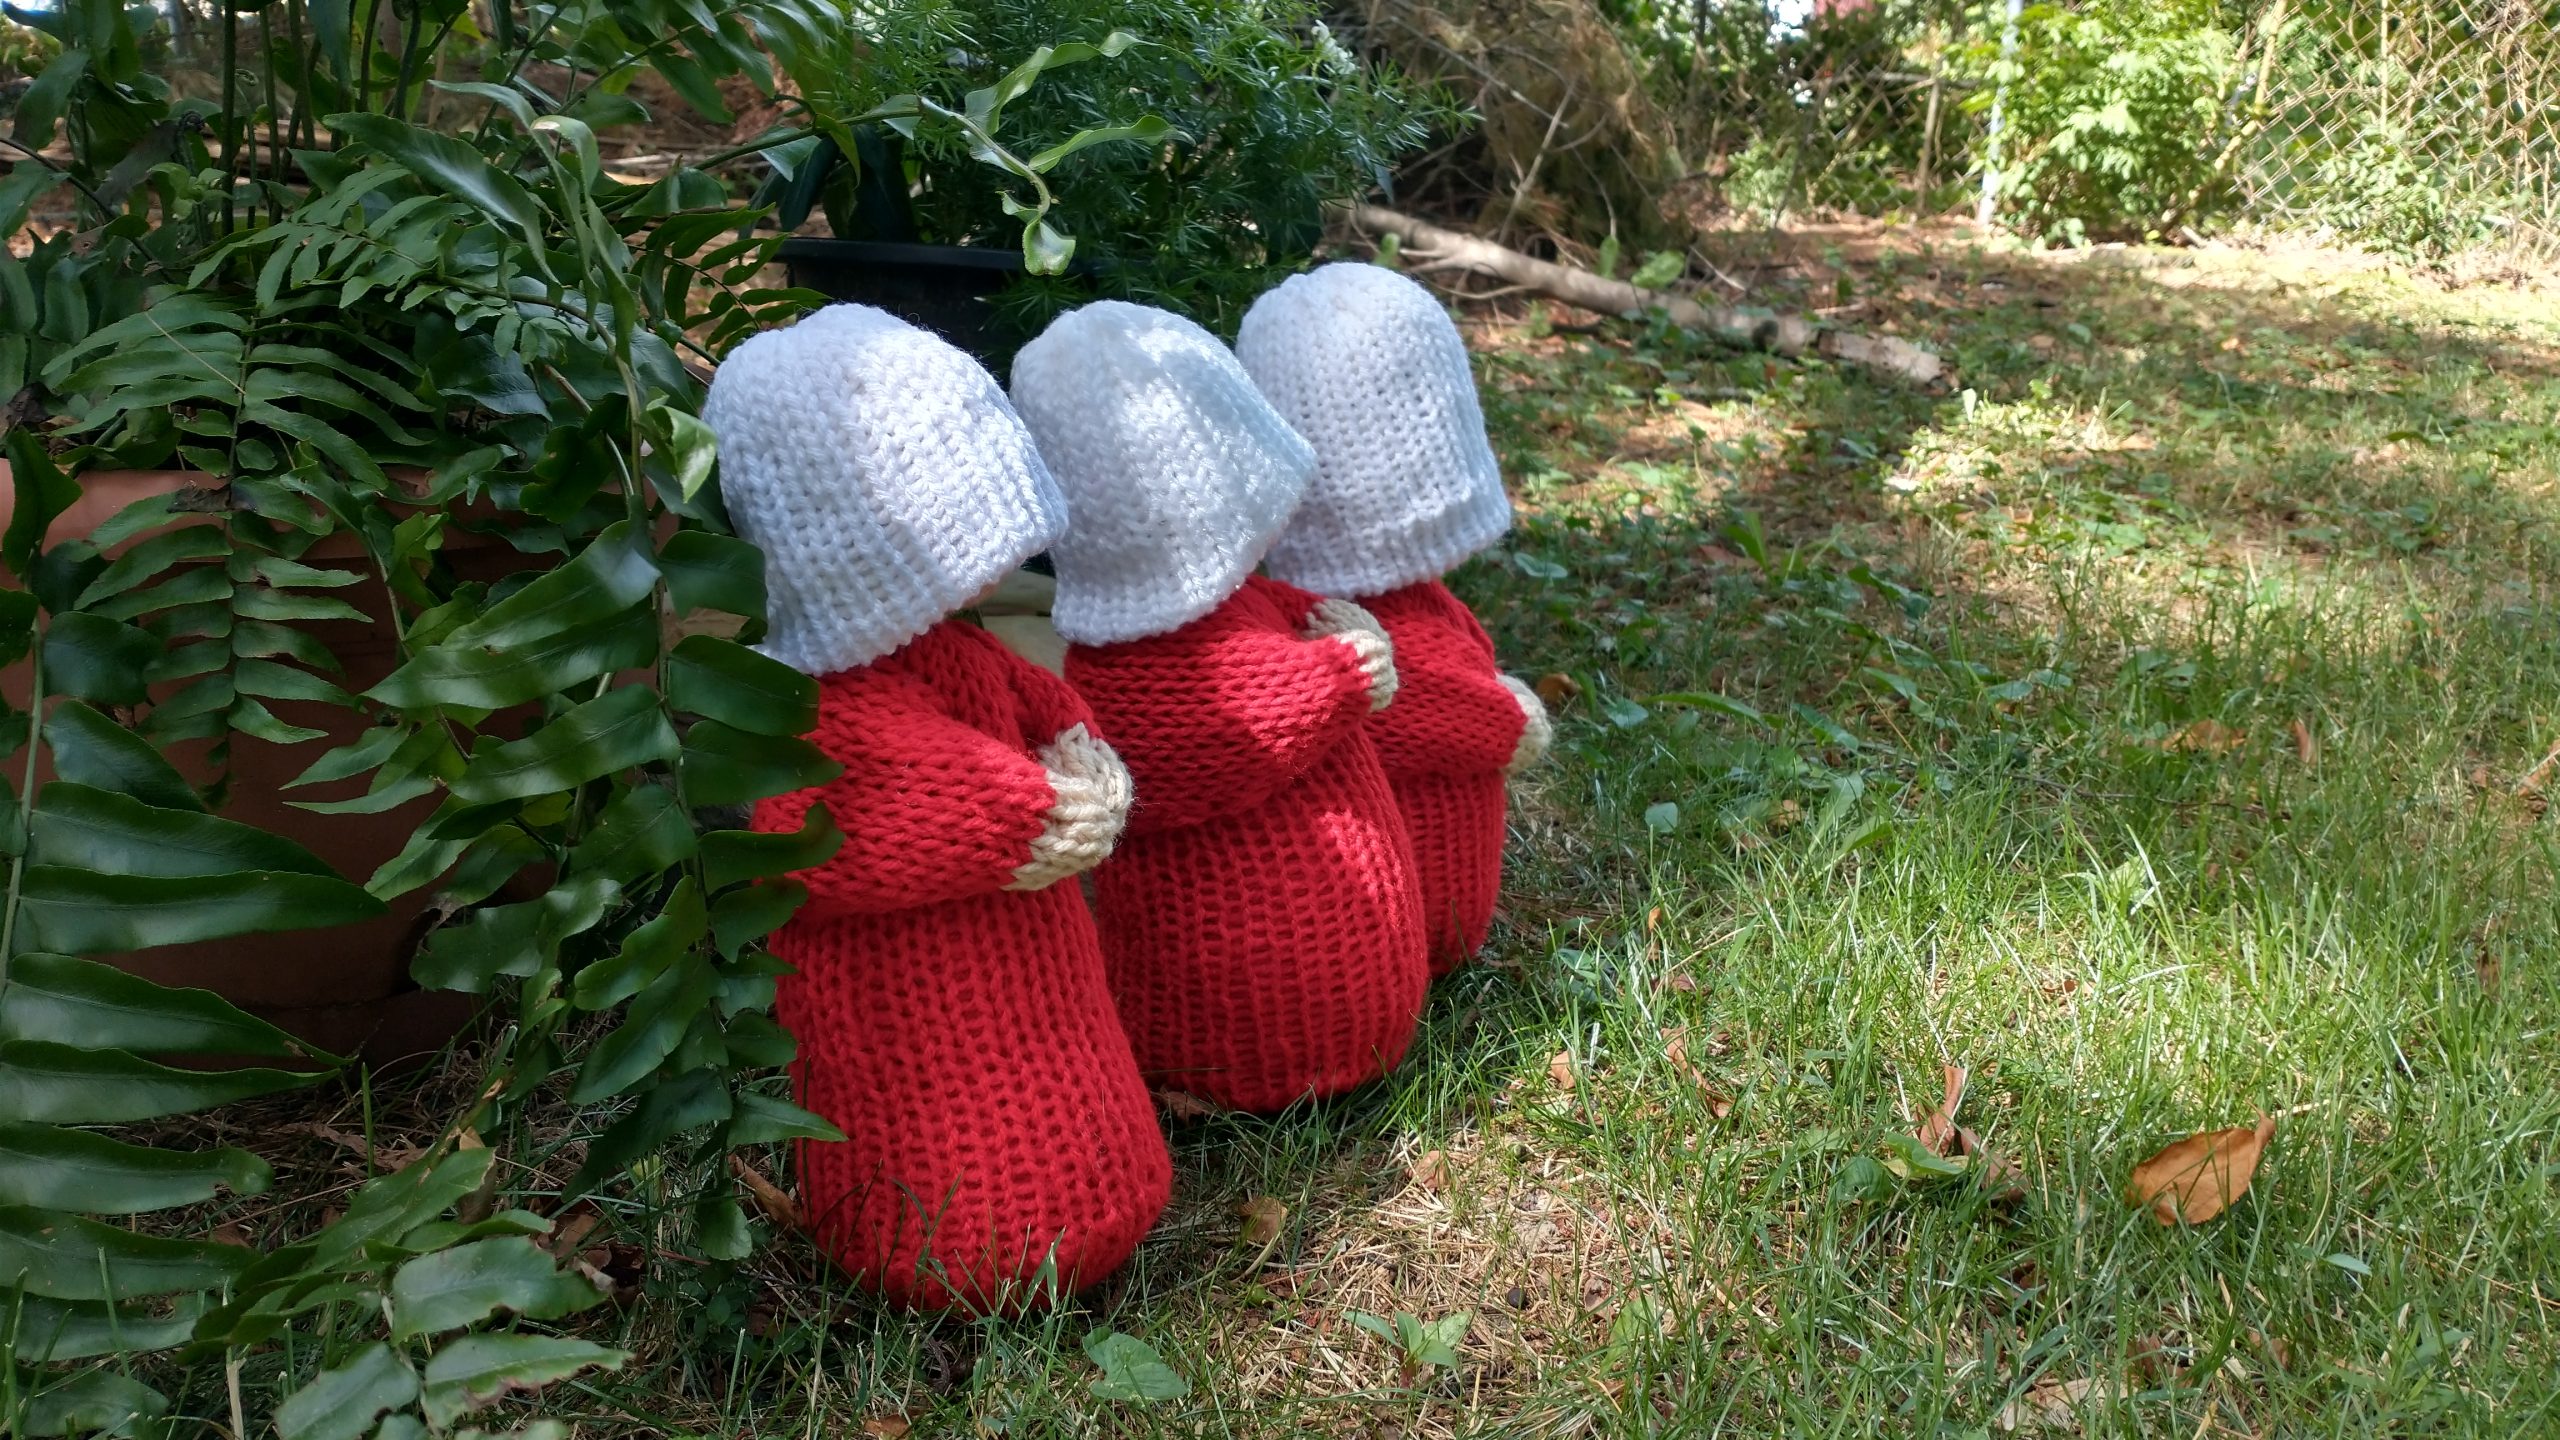
I have loved Margaret Atwood’s classic book The Handmaid’s Tale for years now and then when the series came out, I fell for that too. I should have made one of these a while ago, but ah, procrastination. Then when some short sighted jackasses overturned Roe v. Wade I have been looking for more and more ways to channel my anger and frustration… I give you my take on a handmaid. As always, make and do with them as you would like, but do NOT claim my pattern as your own in any way please and if someone asks, point them to the pattern. Under his eye. 

This was made on my Addi 22 with worsted weight yarn.


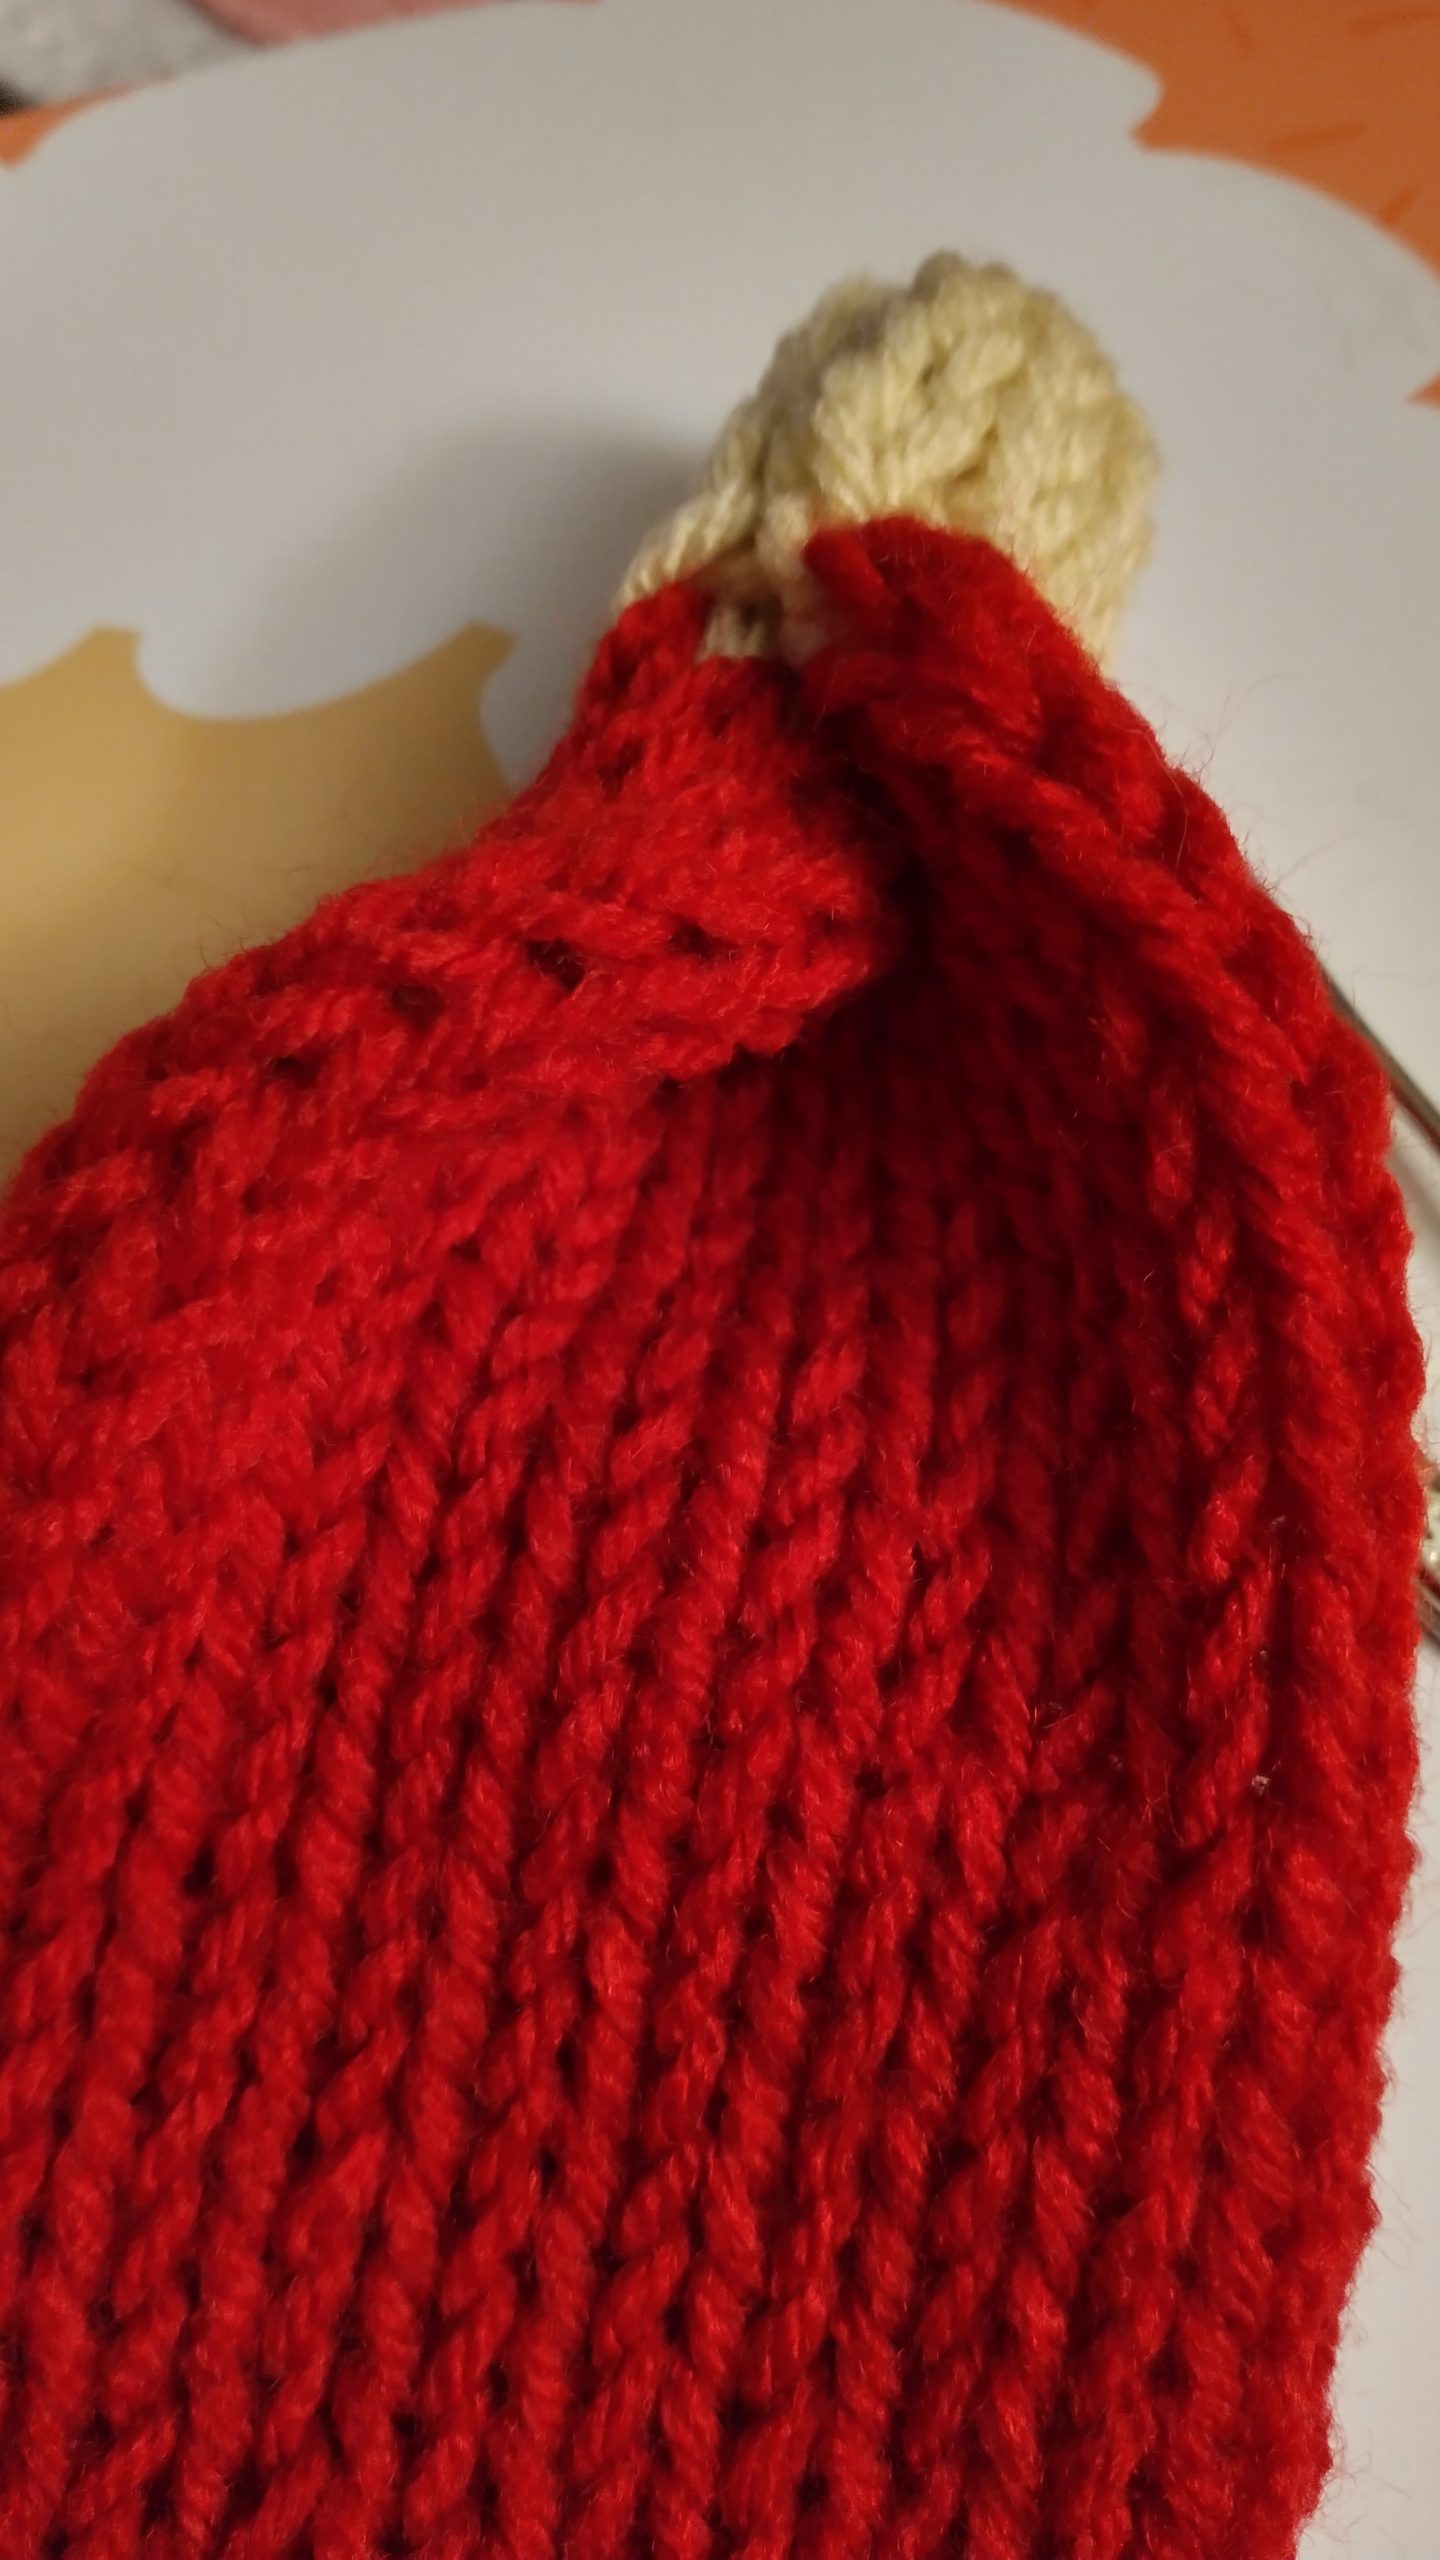
Body: 15 rounds in the skin color, 70 rounds in red (turn to row 85), then 15 more rounds in the skin color (to row 100), leave a long tail to sew with.

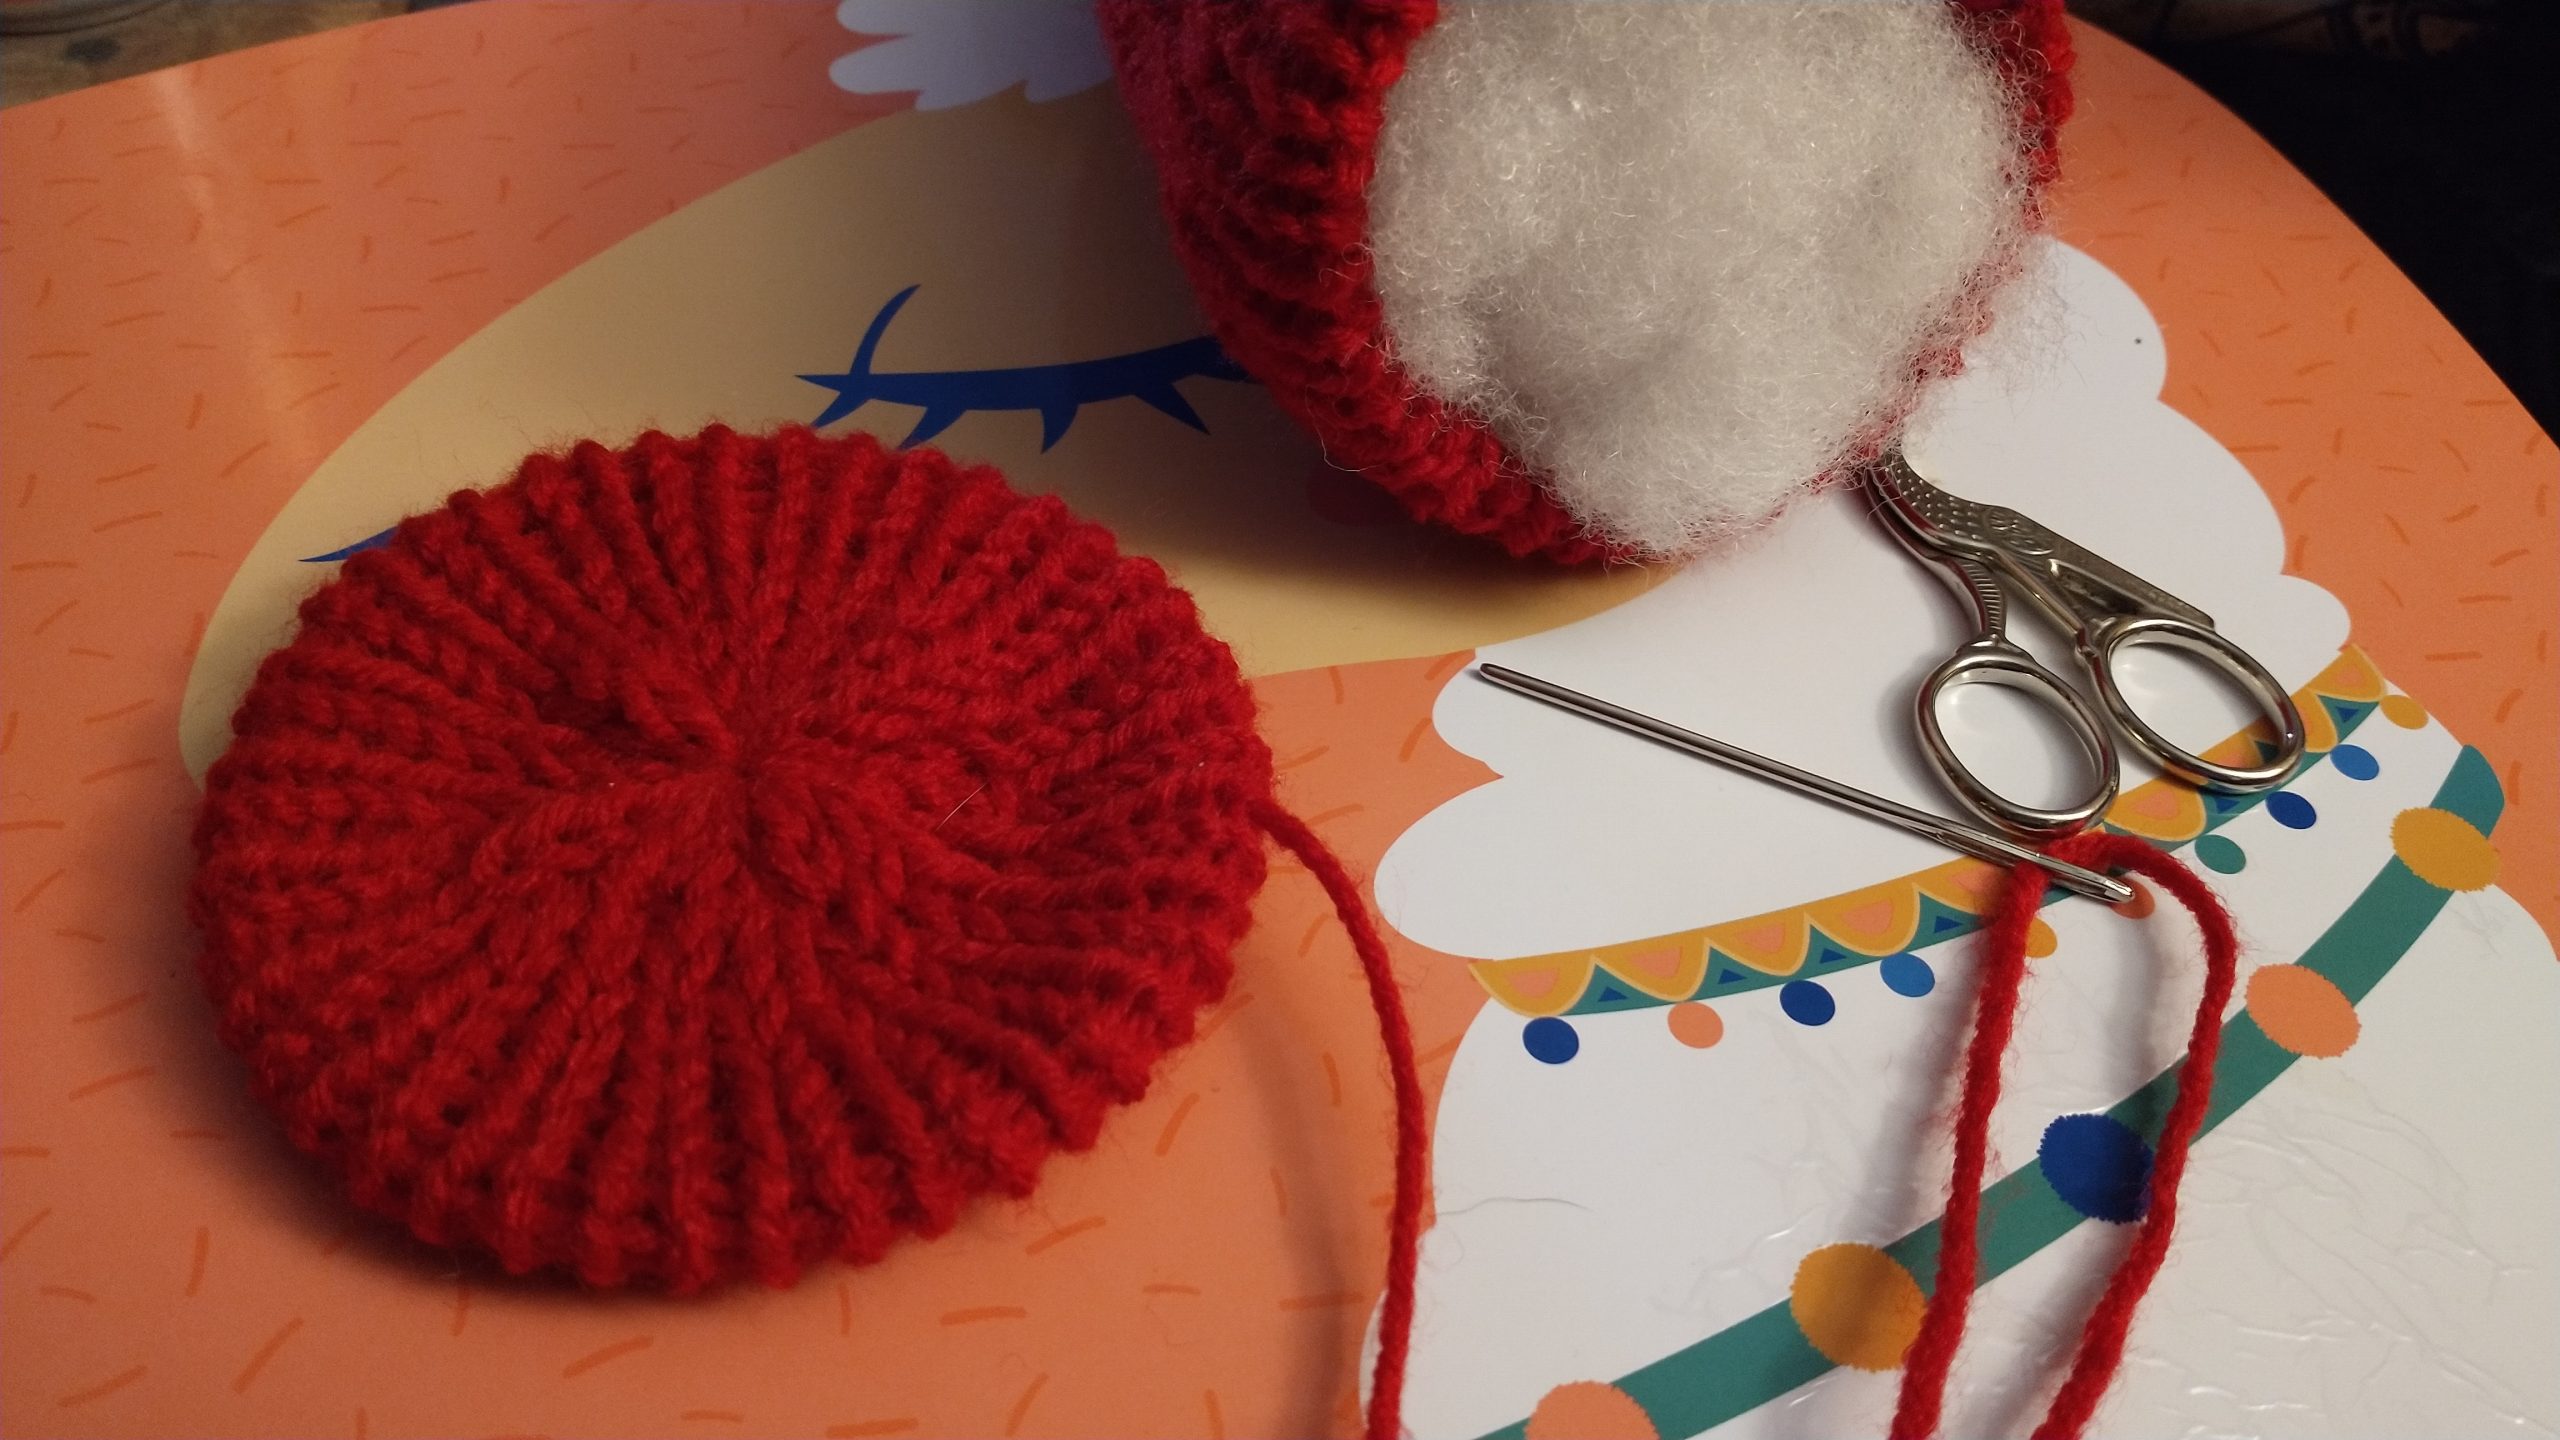
Bottom: 20 rounds in red, leaving a long tail to sew closed and to sew onto the body.

Arms: start with a bit of a tail to sew this hand together, 5 rounds in skin color, 32 rounds in red (to row 37), leave a long tail here and poke it through to the right side when you are done to use to sew to the body, 5 rounds in skin color (to row 42), leaving a tail to sew the hands together.

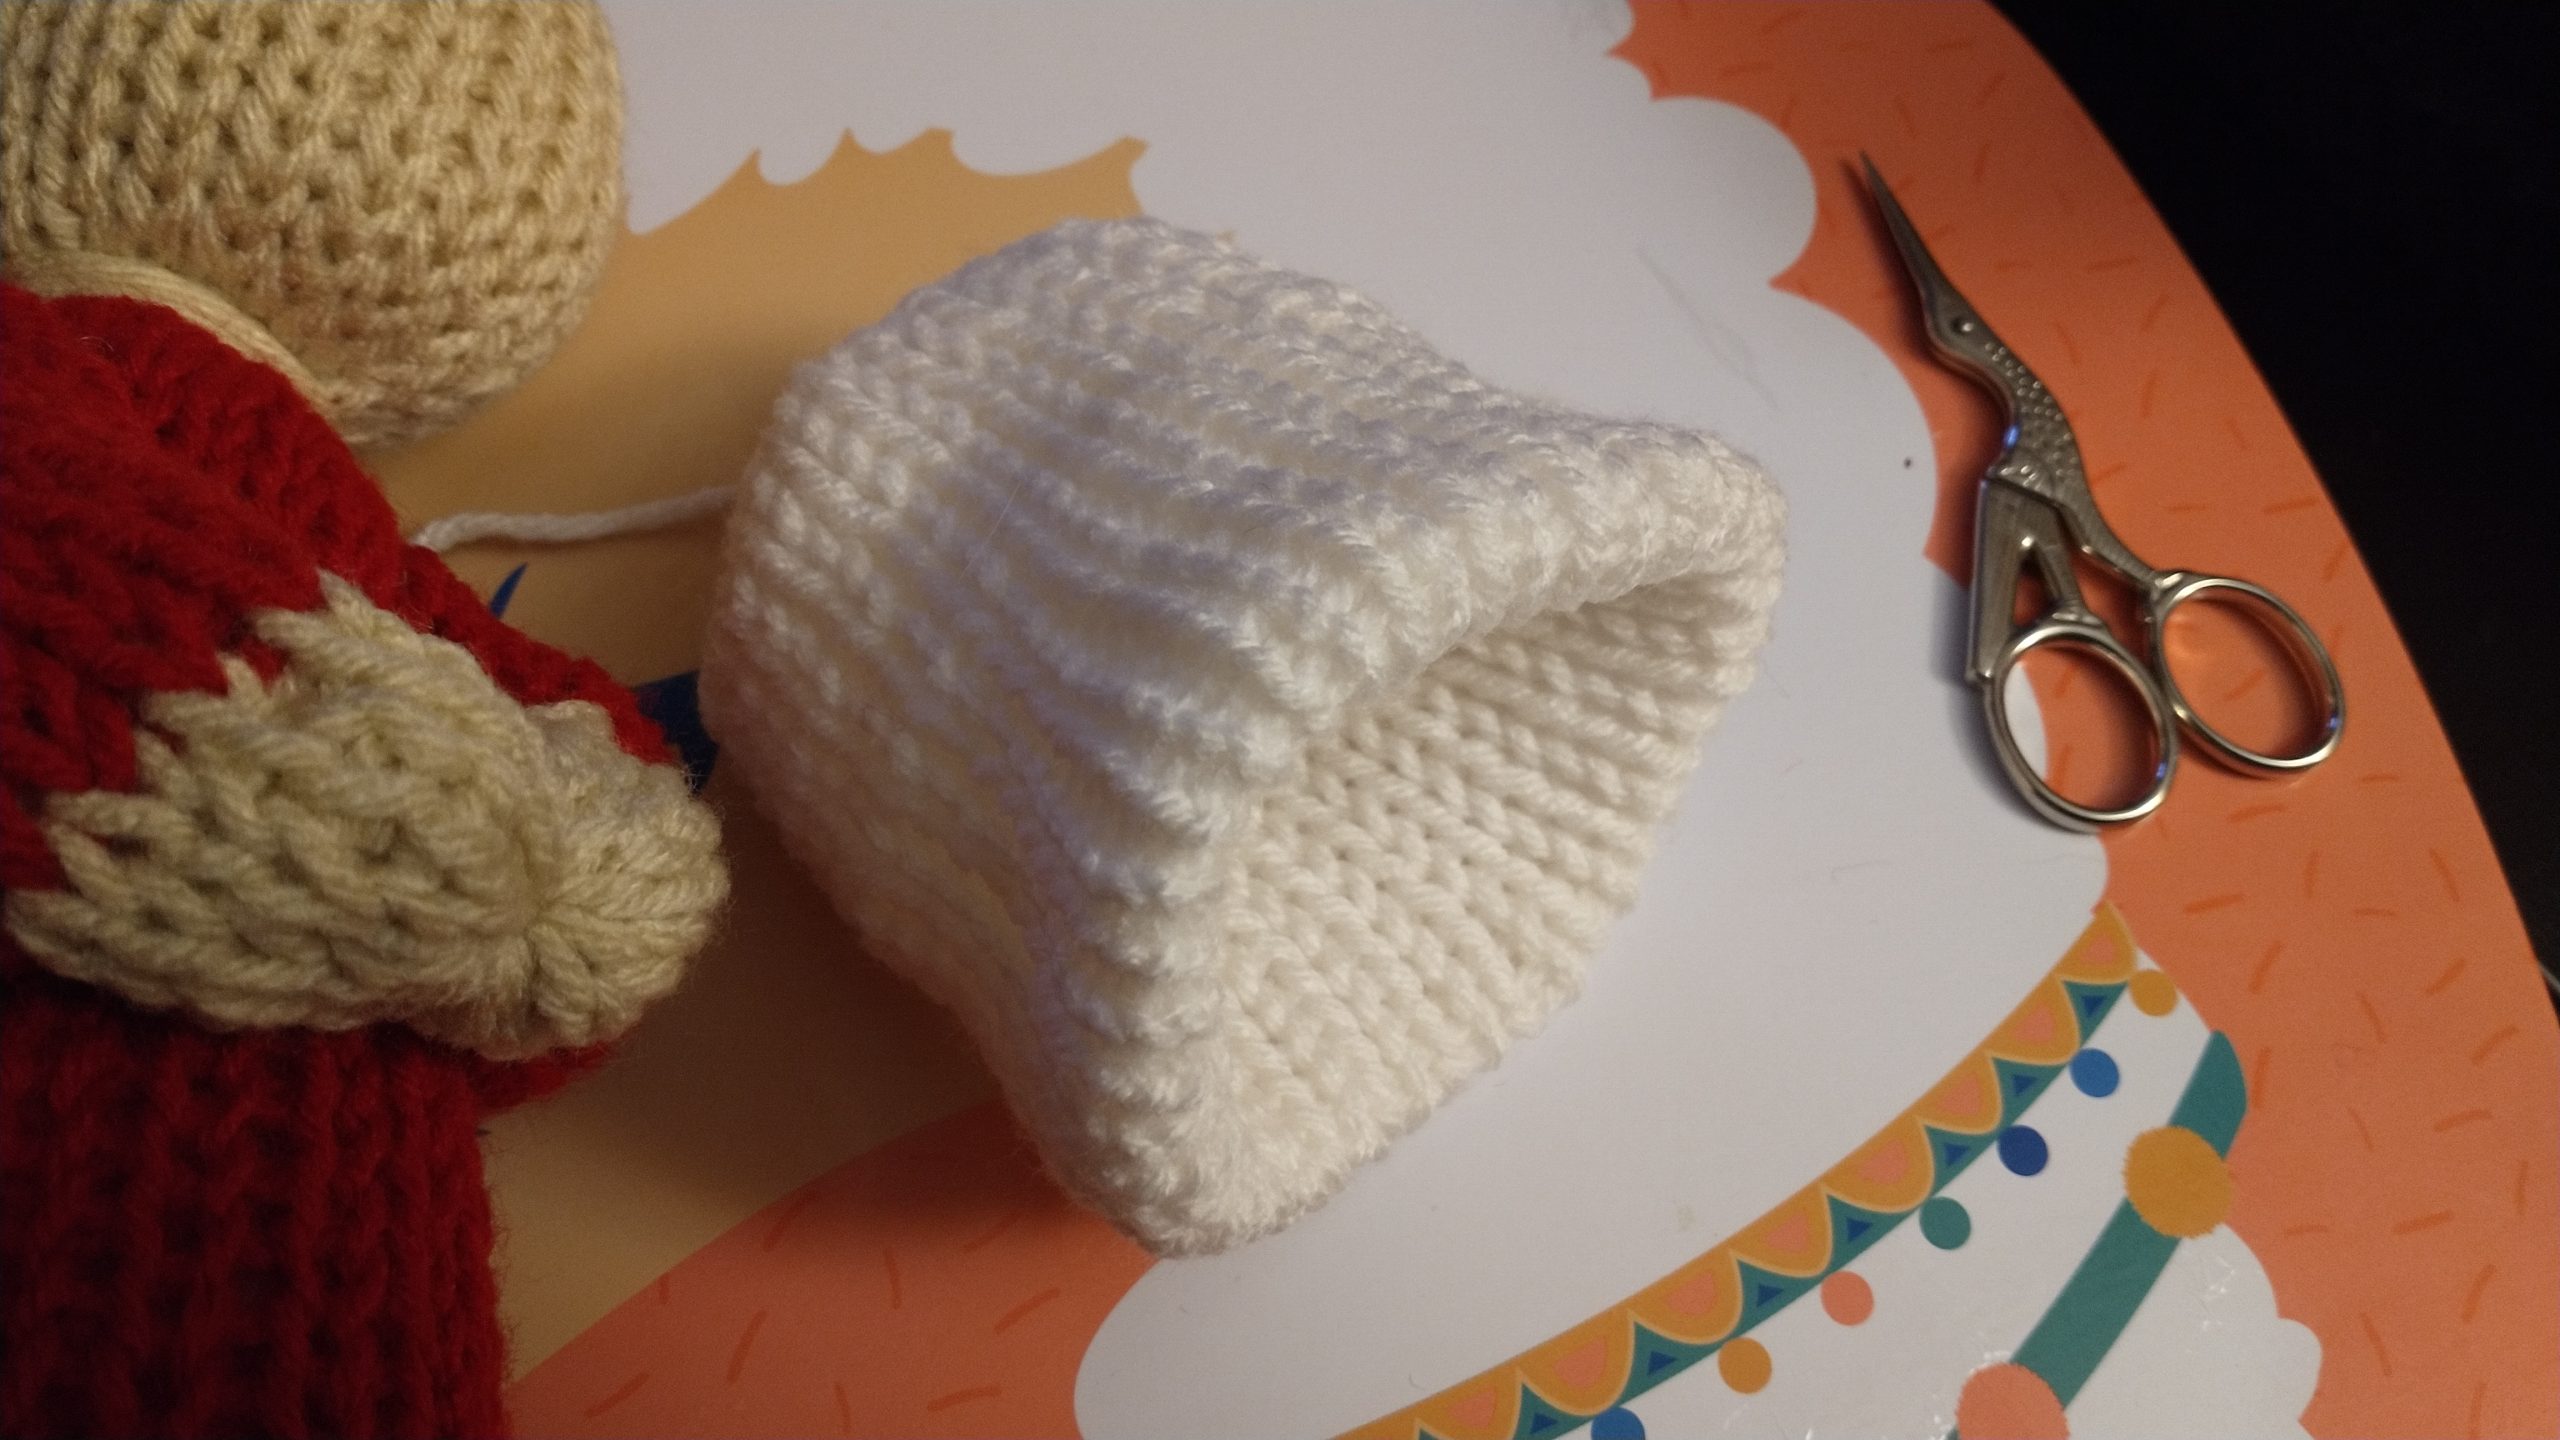
Wings: 40 rounds in white, leaving a long tail to sew close and into place


Assembly: Take the bottom piece and cinch both ends together. Flatten it out to a circle (think scrubby here) and stitch it together to keep it flat. Don’t weave in  your end as you use this to sew to the body. 

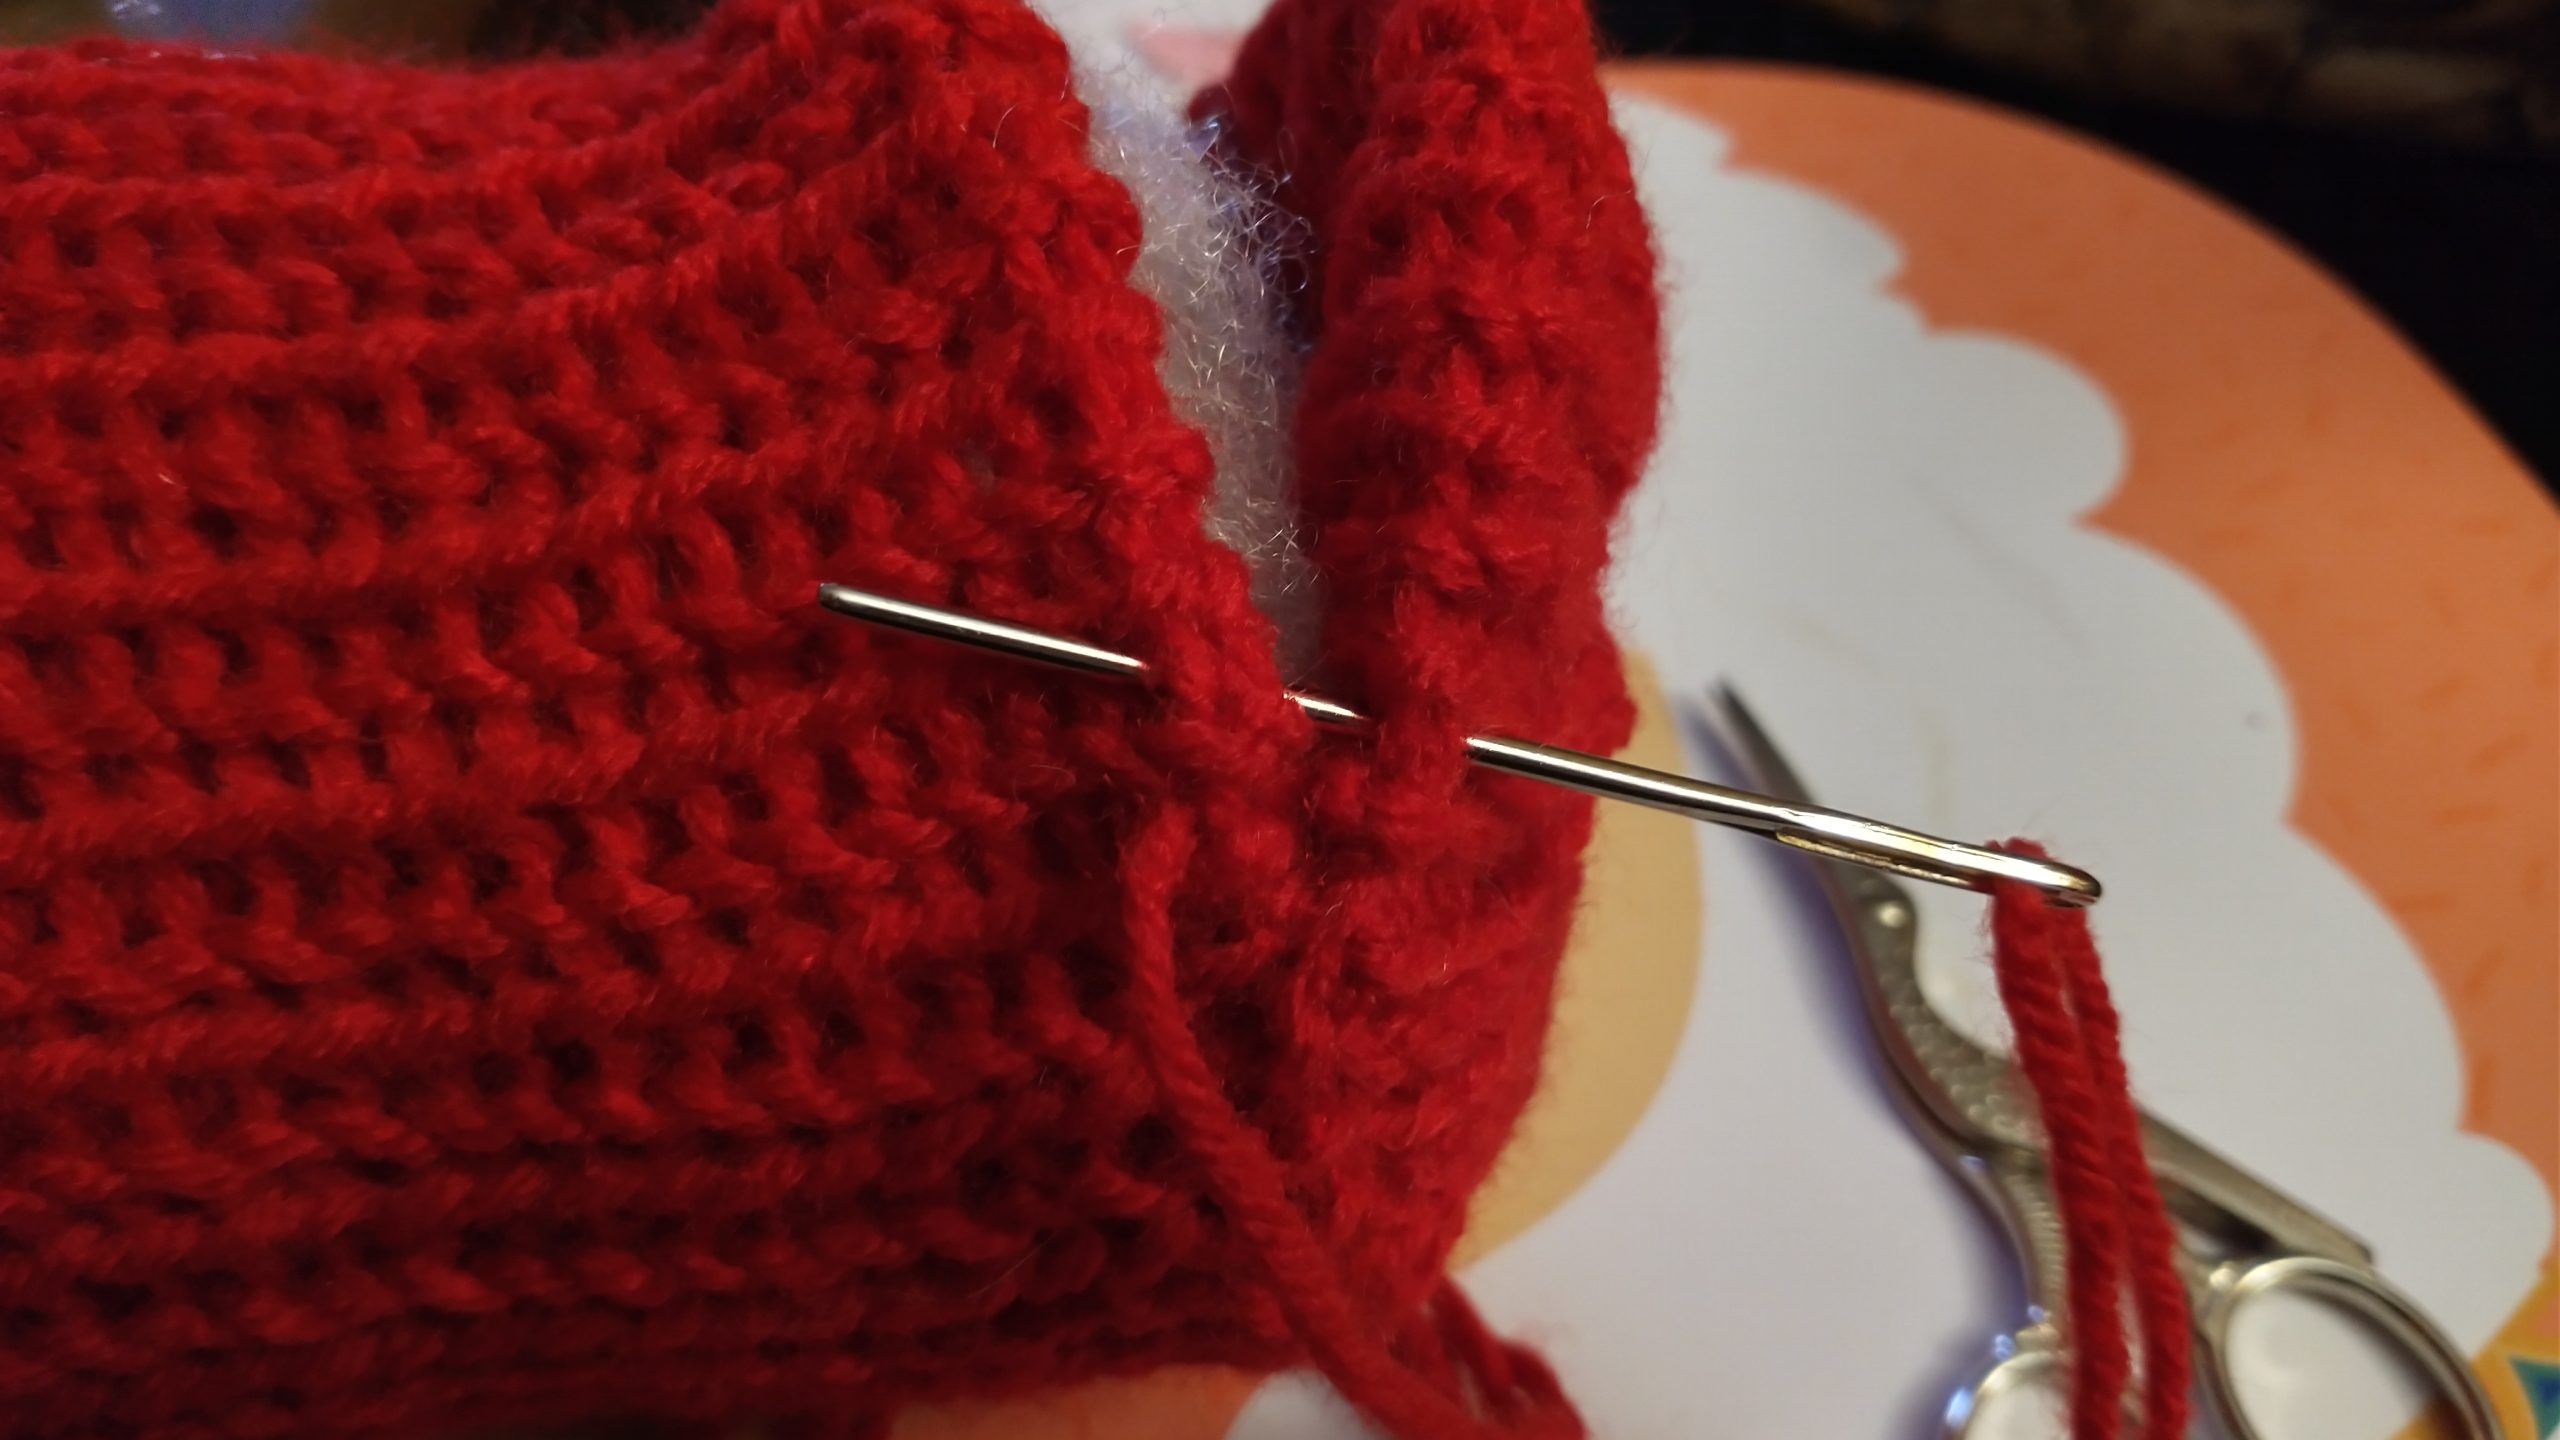
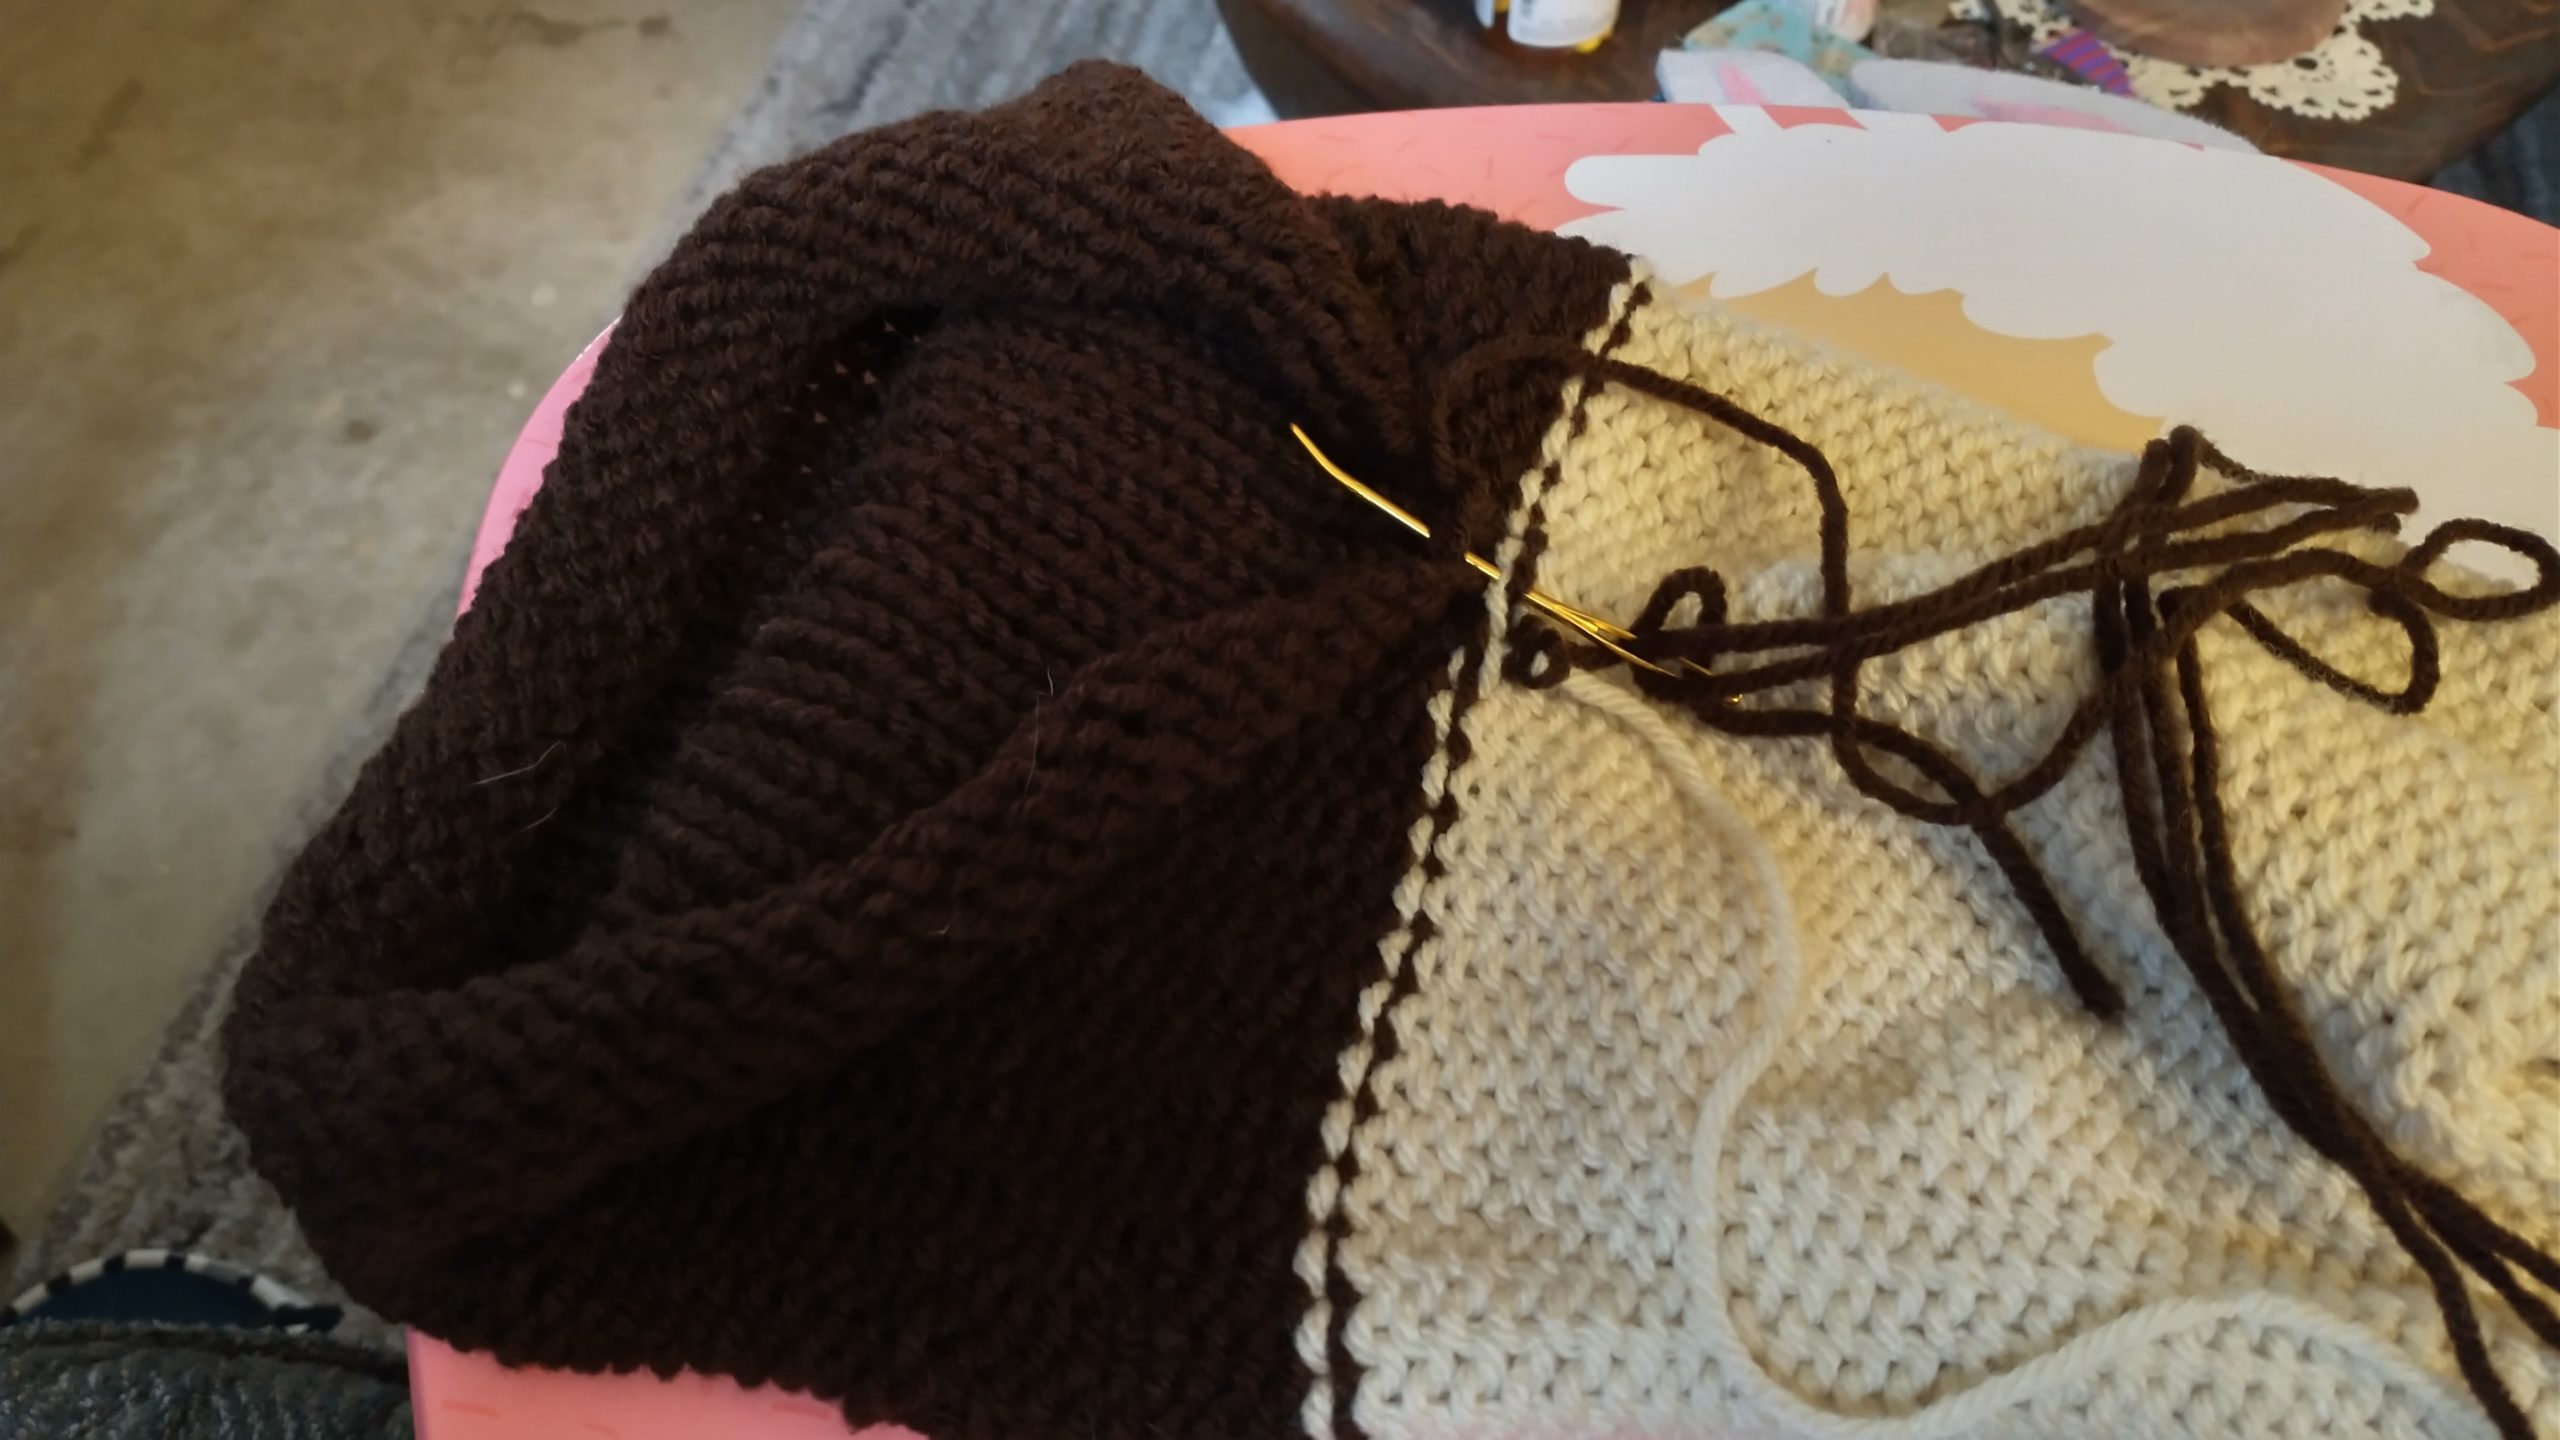
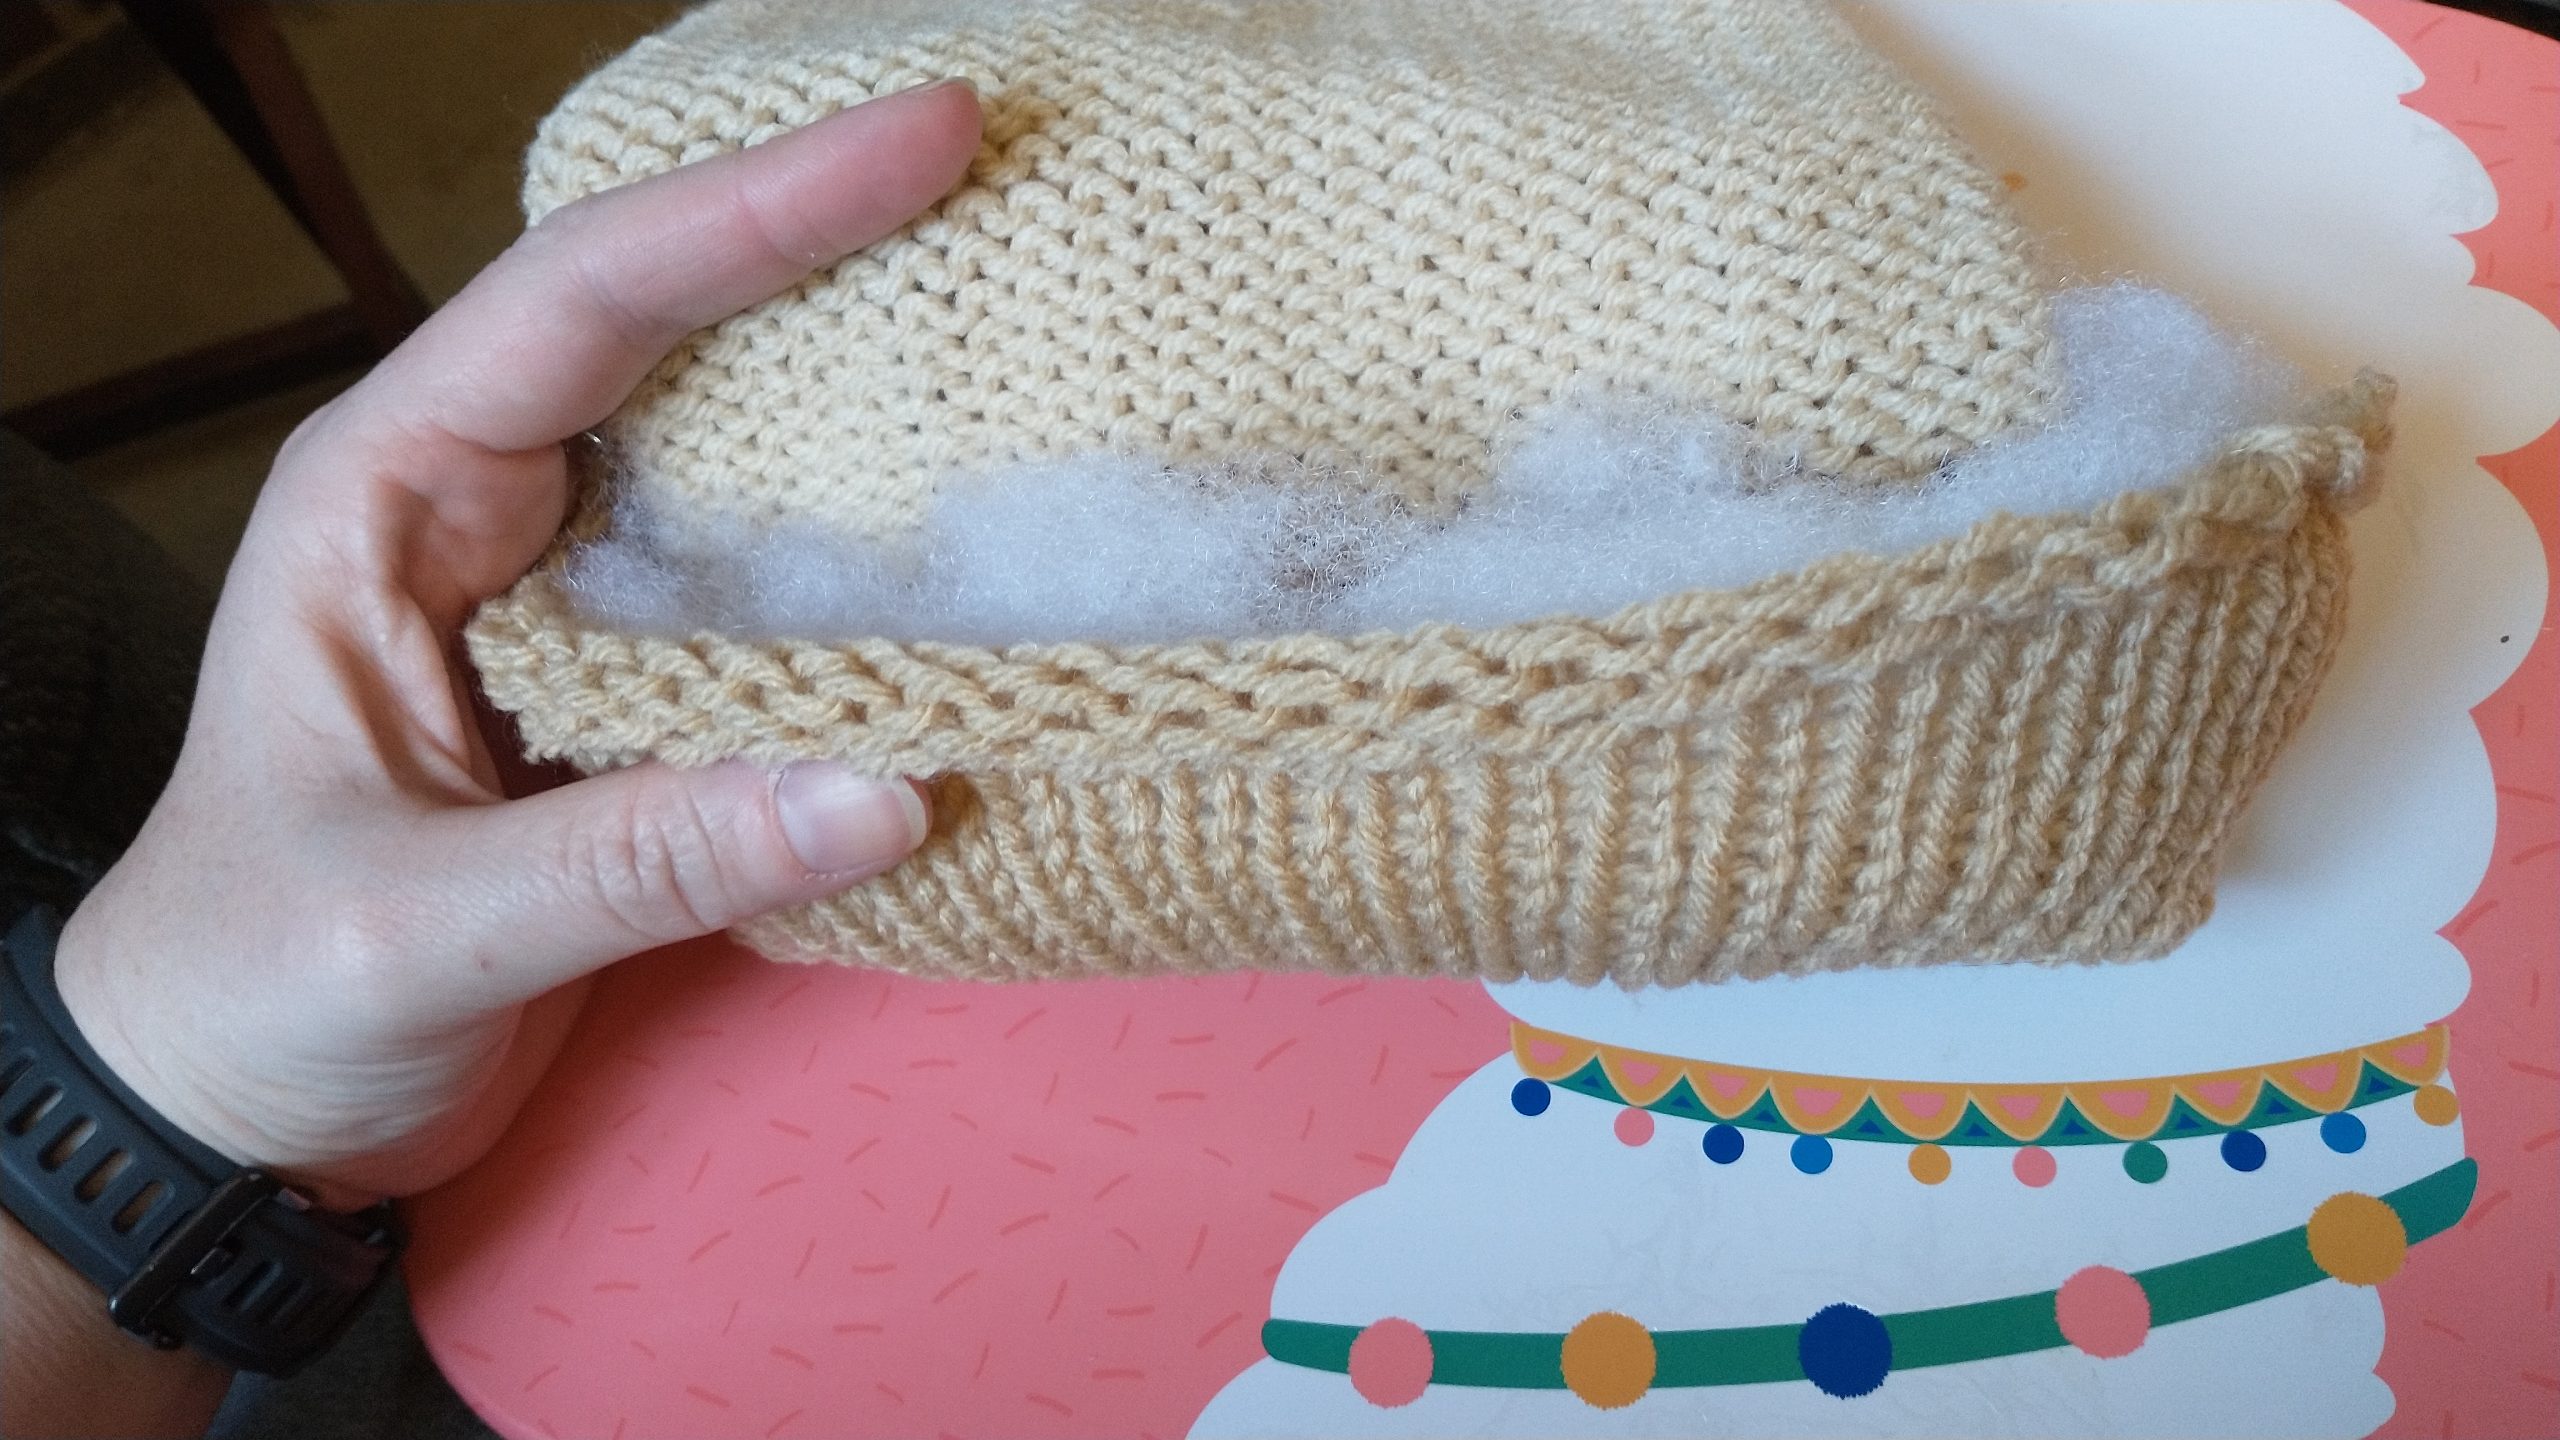
Turn body in on itself, lining the skin color up and cinch the top closed. Stuff the head then cinch the neck closed. Stuff the body mostly. Sew the bottom piece around the bottom of the dress, the stitches should line up pretty well here, making sure to finish stuffing before you finish sewing closed. 

Roll only the hands in circle shapes and sew closed and then together. Do NOT sew the red part in a tube. This part you leave flat. 

Put the arms in place on the body, sliding it over the head and sew onto the body. 

Turn the wings in on itself, cinch the ends together and sew in place, shaping as you go. 


And now you have a quick and easy Handmaid. Blessed be the fruit. 

Mad Hooking! 

Knitting Machine Doughnut

So, I recently found out about knitting machines and I absolutely fell in love. There are some really wonderful and supportive people out there that I have creeped on and watched so many videos on! I started with the Sentro, but quickly put the Addi express (22 and 36) on my watch list for when the price went down. My husband surprised me with both! We are celebrating Easter late this year due to when our oldest is home from college and I wanted to make something for both the kids. Sadly they are not into hats or scarves and I was running low on time for a blanket. I really wanted to make them a stuffy and loved the idea of a doughnut. The only one I could find was in a pattern book (that’s now on my birthday wish list) and that was a bit bigger than I was thinking. Since I roll my work like a doughnut anyway, I trial and errored and I think it turned out quite well! The pink icing was the first (way too much sewing) so by the chocolate one I kinda had it figured out.


For these I used the addi 46 pin. 

In the doughnut color crank out 120 rows. Change to icing color and crank out 40 rows for a total of 160 rows and leave a LONG tail for sewing if you are slightly lazy like me. Remove from the machine carefully not to pull it tight.

 
Turn it inside out. Sew the last icing row to the first icing row. This leaves the knitted side out. 


Starting on the other end, start to roll the doughnut. Place stuffing all around the middle. You don’t need too much, but a this is the only place I stuffed it. Continue to roll and it takes a little fiddling to get exactly where you want the icing, but not bad honestly. 

Now sew the icing onto the doughnut. Don’t worry about being straight. I actually made the pink one to be more random. 


For the swirl I crocheted a chain (I kept placing it on the doughnut to see how long to make it) and sewed it on. Note, if you start with the start of the swirl I left a long tail and started from the center of the doughnut and went outward. Then I left a long tail, made the chain and started again at the center. That way if your chain is a bit long or short you can easily adjust. 

For the sprinkles I doubled up my yarn and did a quick 3 stitch satin stitch. So, up and down 3 times in the same space. Spaced it out as randomly as I could around. 


And it’s that easy! I hope you like this as much as I do… and I hope the kids do as well.

Mad Hooking!

Halo Braid Hat

Firstly, bare with me. This is my first knitted pattern and I come to it from a primarily crocheters point of view. This pattern is more of a recipe of how I made this hat.. how to put the three pieces together. Also I should mention I usually only get to craft when I’m half awake (night shift and kids) and exact counts never seem to be my thing. This hat will work without the exact counts because goodness knows I didn’t have exact ones…

A family member found a hat and thought of me asking me to make it for them. I found the pattern for it and of course it was a paid pattern… anyone who knows me knows I don’t prefer to buy singular patterns like that. Personal preference and all… I wouldn’t have a problem with it if it was a dollar or two, but I can’t justify six dollars for one pattern. That’s just me though and my personal soapbox because I have been burned before by that.

Anywho what follows is how I made this hat in as simplest terms as I can make it. In true crocheter fashion I didn’t do a gauge swatch. My hope is that you can adjust this to fit any size yarn. Just use the corresponding straight and circular needles (or dpn I suppose) for your yarn. I will of course list what I used.

Straight needles US 10/6.00mm
16″ Circular needles US 10/6.00mm
Optional crochet hook J/6.00mm
Cable needle
Darning needle
#5 Bulky yarn (I used I Love This Chunky! yarn I found at Hobby Lobby. I bought 2 skeins and each skein has 109 yards.  I had a decent amount leftover and honestly I don’t know if I would buy that again.  The yarn got fuzzy just working with it and after the first wash… more than I would think appropriate. I did take a picture of the leftover amount to show.)
Very cute button

First thing is to make the cabled part. This is essentially a cabled headband. I found a lovely pattern already written up! WOOt! So use this pattern and make a headband to the size of 21″. For me this ended up being 13 repeats… she mentioned that she did 14. Bind off and seam the two ends together.

Now, with the right side facing and using circular needle pick up the stitches along the one side. Now since I had 13 repeats of 8 each that left me picking up 104, place marker if you want. It’ll be a spiral from here out so it doesn’t have to be exact.

Knit around for 2 rounds

Now, maybe it’s just me, but 104 stitches in this bulky yarn seems a bit excessive. I wanted to get it down to roughly 80 stitches. So this is how I did it, but you might have to adjust to decrease to the amount of stitches that works for you. Keep in mind I was designing this for an average size woman’s head.

*knit 7, decrease* around (this should give you roughly 93 stitches, seriously, don’t sweat the count to be exact)

Knit around for 2 rounds

*knit 12, decrease* around

Knit around and count how many stitches you have. If you have more than 80 stitches then on the next round just space out a few decreases around on the next round. I had 83 somehow so I just put 3 decreases on the next round. Seriously, don’t sweat it.

knit in stockinette stitch until the whole piece measures 11.5″ for a really slouchy hat like I made or 8.5″ for a loose beanie.

Decrease around

Knit around for 2 rounds then bind off using the drawstring method.

Now, you could stop now and have quite the lovely hat in my opinion or you can continue on and make the brim to make it the cloche hat.

Ok, so find the middle of the front (the seam from the headband is obviously what you want for the back), face the unworked side away from you and count 15 bumps as it were… essentially 30 stitches, but for these purposes we are only thinking of the space between the bumps. Starting here pick up 30 total stitches but only using the spaces between the bumps. You are leaving the rest unworked.

Row 1: knit across
Row 2: decrease, decrease then knit across

Repeat these two rows until you have 6 stitches left on your needles, but end on a row 1 then bind off. Here I didn’t cut my yarn, but I pulled out my crochet hook to just do a quick sc border on this piece only, I didn’t go all the way around. This is completely optional, but I am a hooker at heart…

Now, after you weave in your ends, pull the long side of the piece you made over and sew on your button and that’s that!