Handmaid

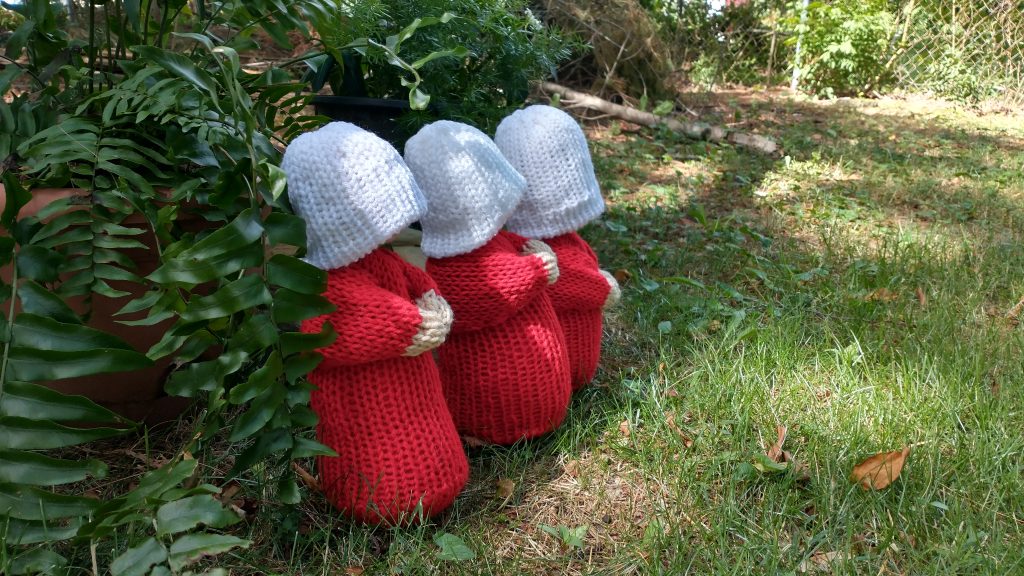
I have loved Margaret Atwood’s classic book The Handmaid’s Tale for years now and then when the series came out, I fell for that too. I should have made one of these a while ago, but ah, procrastination. Then when some short sighted jackasses overturned Roe v. Wade I have been looking for more and more ways to channel my anger and frustration… I give you my take on a handmaid. As always, make and do with them as you would like, but do NOT claim my pattern as your own in any way please and if someone asks, point them to the pattern. Under his eye. 

This was made on my Addi 22 with worsted weight yarn.


Body: 15 rounds in the skin color, 70 rounds in red (turn to row 85), then 15 more rounds in the skin color (to row 100), leave a long tail to sew with.

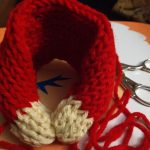
Bottom: 20 rounds in red, leaving a long tail to sew closed and to sew onto the body.

Arms: start with a bit of a tail to sew this hand together, 5 rounds in skin color, 32 rounds in red (to row 37), leave a long tail here and poke it through to the right side when you are done to use to sew to the body, 5 rounds in skin color (to row 42), leaving a tail to sew the hands together.

Wings: 40 rounds in white, leaving a long tail to sew close and into place


Assembly: Take the bottom piece and cinch both ends together. Flatten it out to a circle (think scrubby here) and stitch it together to keep it flat. Don’t weave in  your end as you use this to sew to the body. 

Turn body in on itself, lining the skin color up and cinch the top closed. Stuff the head then cinch the neck closed. Stuff the body mostly. Sew the bottom piece around the bottom of the dress, the stitches should line up pretty well here, making sure to finish stuffing before you finish sewing closed. 
Roll only the hands in circle shapes and sew closed and then together. Do NOT sew the red part in a tube. This part you leave flat. 
Put the arms in place on the body, sliding it over the head and sew onto the body. 

Turn the wings in on itself, cinch the ends together and sew in place, shaping as you go. 


And now you have a quick and easy Handmaid. Blessed be the fruit. 

Mad Hooking! 

Knitting Machine Doughnut

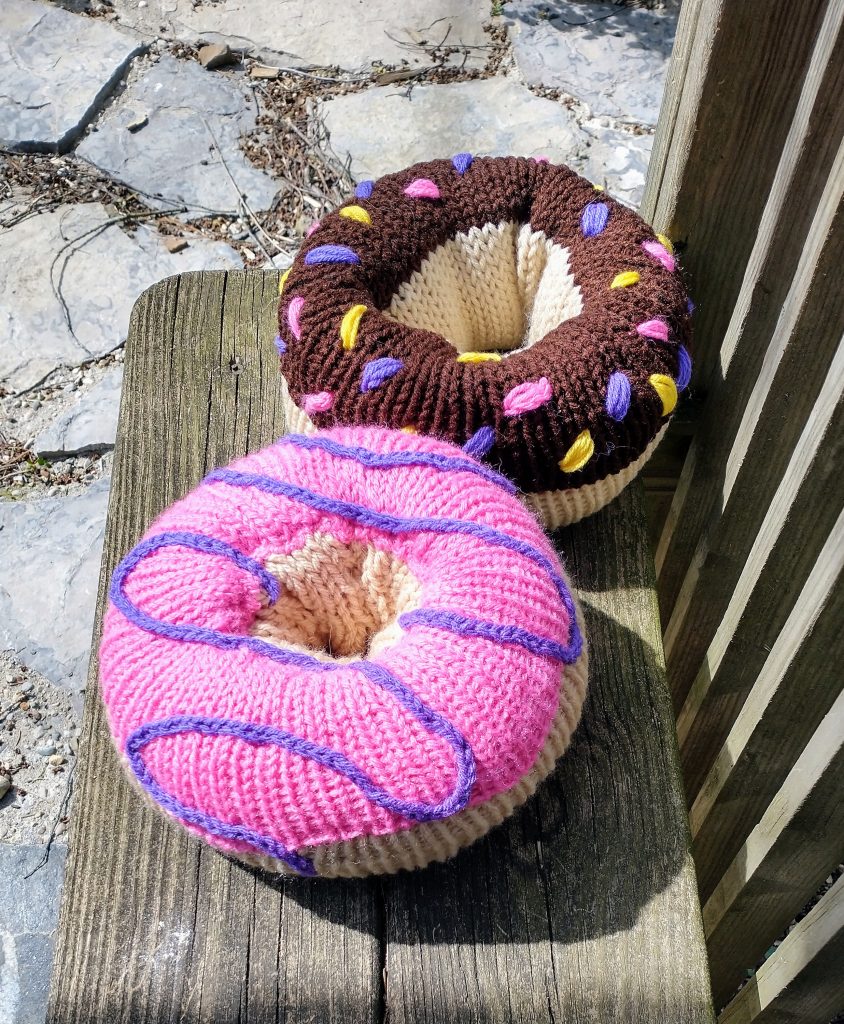
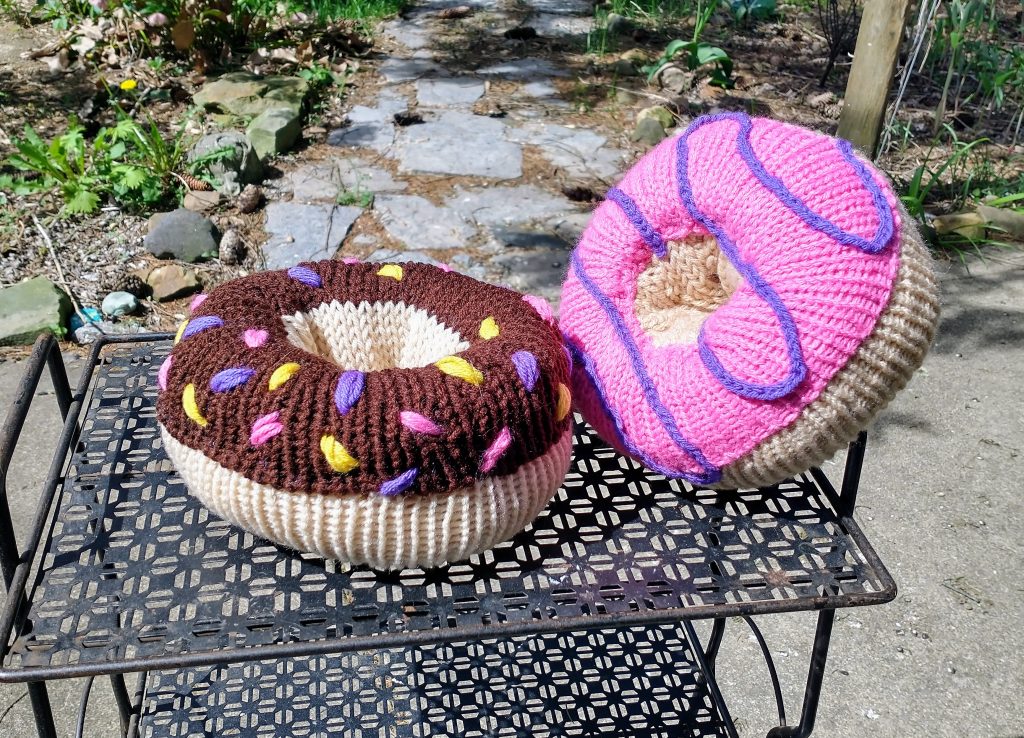
So, I recently found out about knitting machines and I absolutely fell in love. There are some really wonderful and supportive people out there that I have creeped on and watched so many videos on! I started with the Sentro, but quickly put the Addi express (22 and 36) on my watch list for when the price went down. My husband surprised me with both! We are celebrating Easter late this year due to when our oldest is home from college and I wanted to make something for both the kids. Sadly they are not into hats or scarves and I was running low on time for a blanket. I really wanted to make them a stuffy and loved the idea of a doughnut. The only one I could find was in a pattern book (that’s now on my birthday wish list) and that was a bit bigger than I was thinking. Since I roll my work like a doughnut anyway, I trial and errored and I think it turned out quite well! The pink icing was the first (way too much sewing) so by the chocolate one I kinda had it figured out.


For these I used the addi 46 pin. 

In the doughnut color crank out 120 rows. Change to icing color and crank out 40 rows for a total of 160 rows and leave a LONG tail for sewing if you are slightly lazy like me. Remove from the machine carefully not to pull it tight.

 
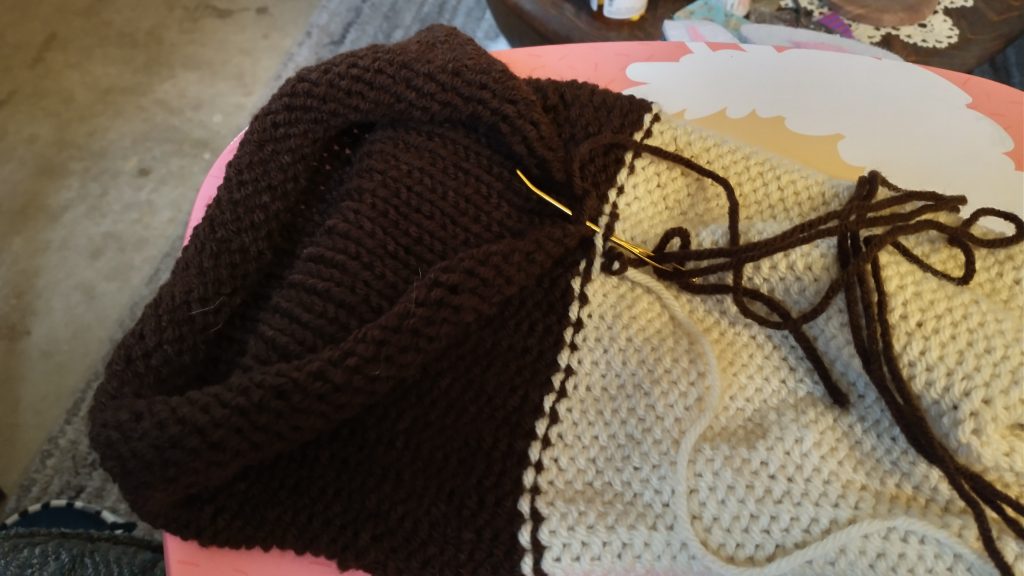
Turn it inside out. Sew the last icing row to the first icing row. This leaves the knitted side out. 


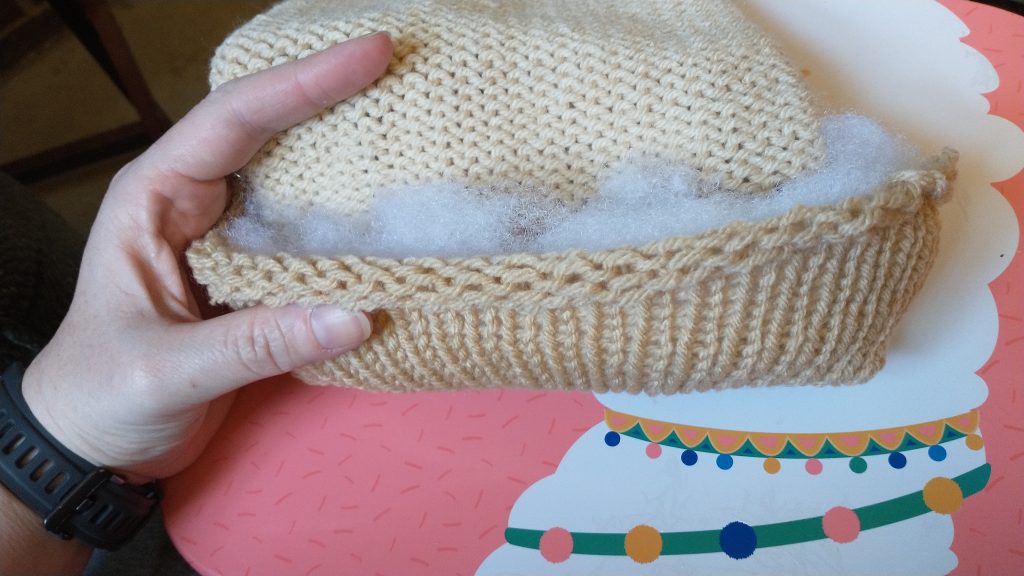
Starting on the other end, start to roll the doughnut. Place stuffing all around the middle. You don’t need too much, but a this is the only place I stuffed it. Continue to roll and it takes a little fiddling to get exactly where you want the icing, but not bad honestly. 

Now sew the icing onto the doughnut. Don’t worry about being straight. I actually made the pink one to be more random. 


For the swirl I crocheted a chain (I kept placing it on the doughnut to see how long to make it) and sewed it on. Note, if you start with the start of the swirl I left a long tail and started from the center of the doughnut and went outward. Then I left a long tail, made the chain and started again at the center. That way if your chain is a bit long or short you can easily adjust. 

For the sprinkles I doubled up my yarn and did a quick 3 stitch satin stitch. So, up and down 3 times in the same space. Spaced it out as randomly as I could around. 


And it’s that easy! I hope you like this as much as I do… and I hope the kids do as well.

Mad Hooking!