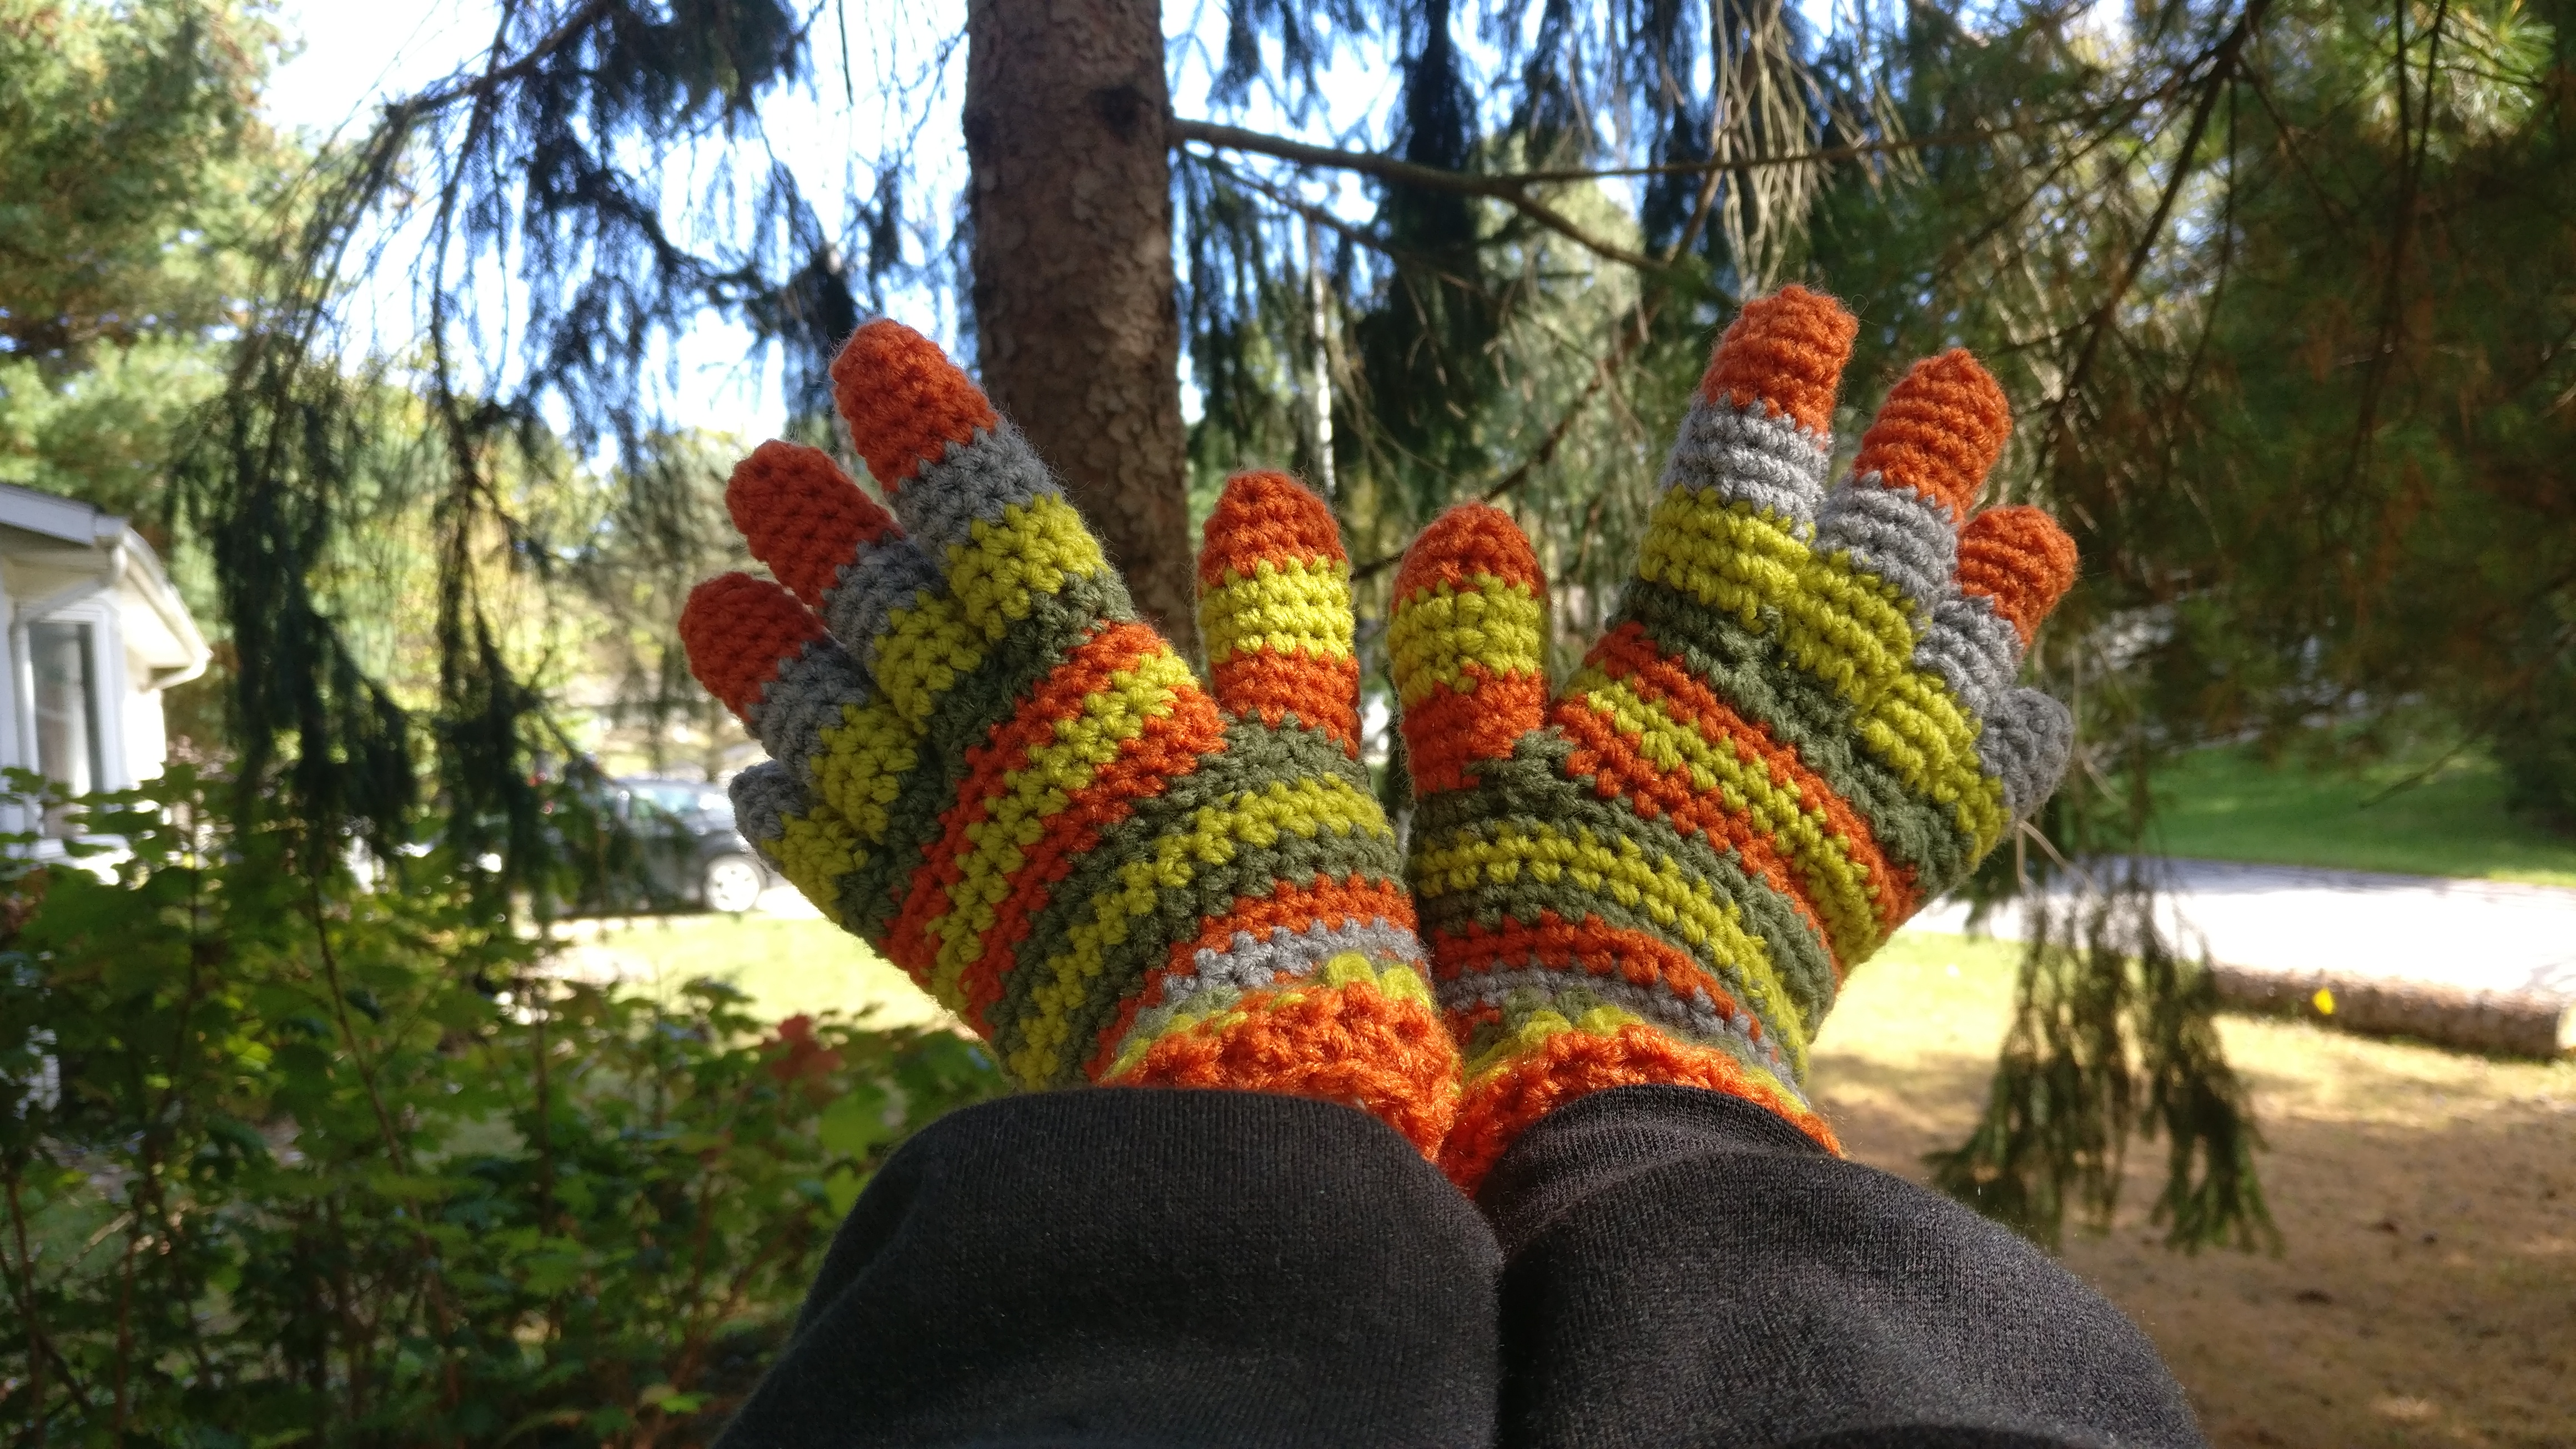
As my daughter decided to dress up as Coraline this year for Halloween. I was thrilled! Not only have we always loved the movie, but it is an easy costume to pull together. Though she mentioned she wanted some gloves like the ones from the movie. I originally thought it would be no problem. The movie has been out for a while, I won’t have a problem finding the pattern. Yeah, in part I could… for knitting. Now if I even attempted to knit these she might get them in a few years. So, here’s my humble attempt to recreate them in crochet.

Size I hook (now, I do tend to crochet a bit tight as some others have pointed out. These gloves are meant to fit what I would consider a small/medium woman.)
worsted weight yarn in the colors of your choice/ I used orange, medium gray, olive green and a yellow green that was in my stash… great time to stash bust!
Notes:
Note on sizing. This pattern worked for me to make my daughter a pair of gloves. I tried them on her multiple times, much to her annoyance. She does have small woman size hands. They would never have fit my hands. NEVER. I also don’t know how well they would fit a smaller child since I don’t have one to try them on. This was my first foray into making gloves honestly.
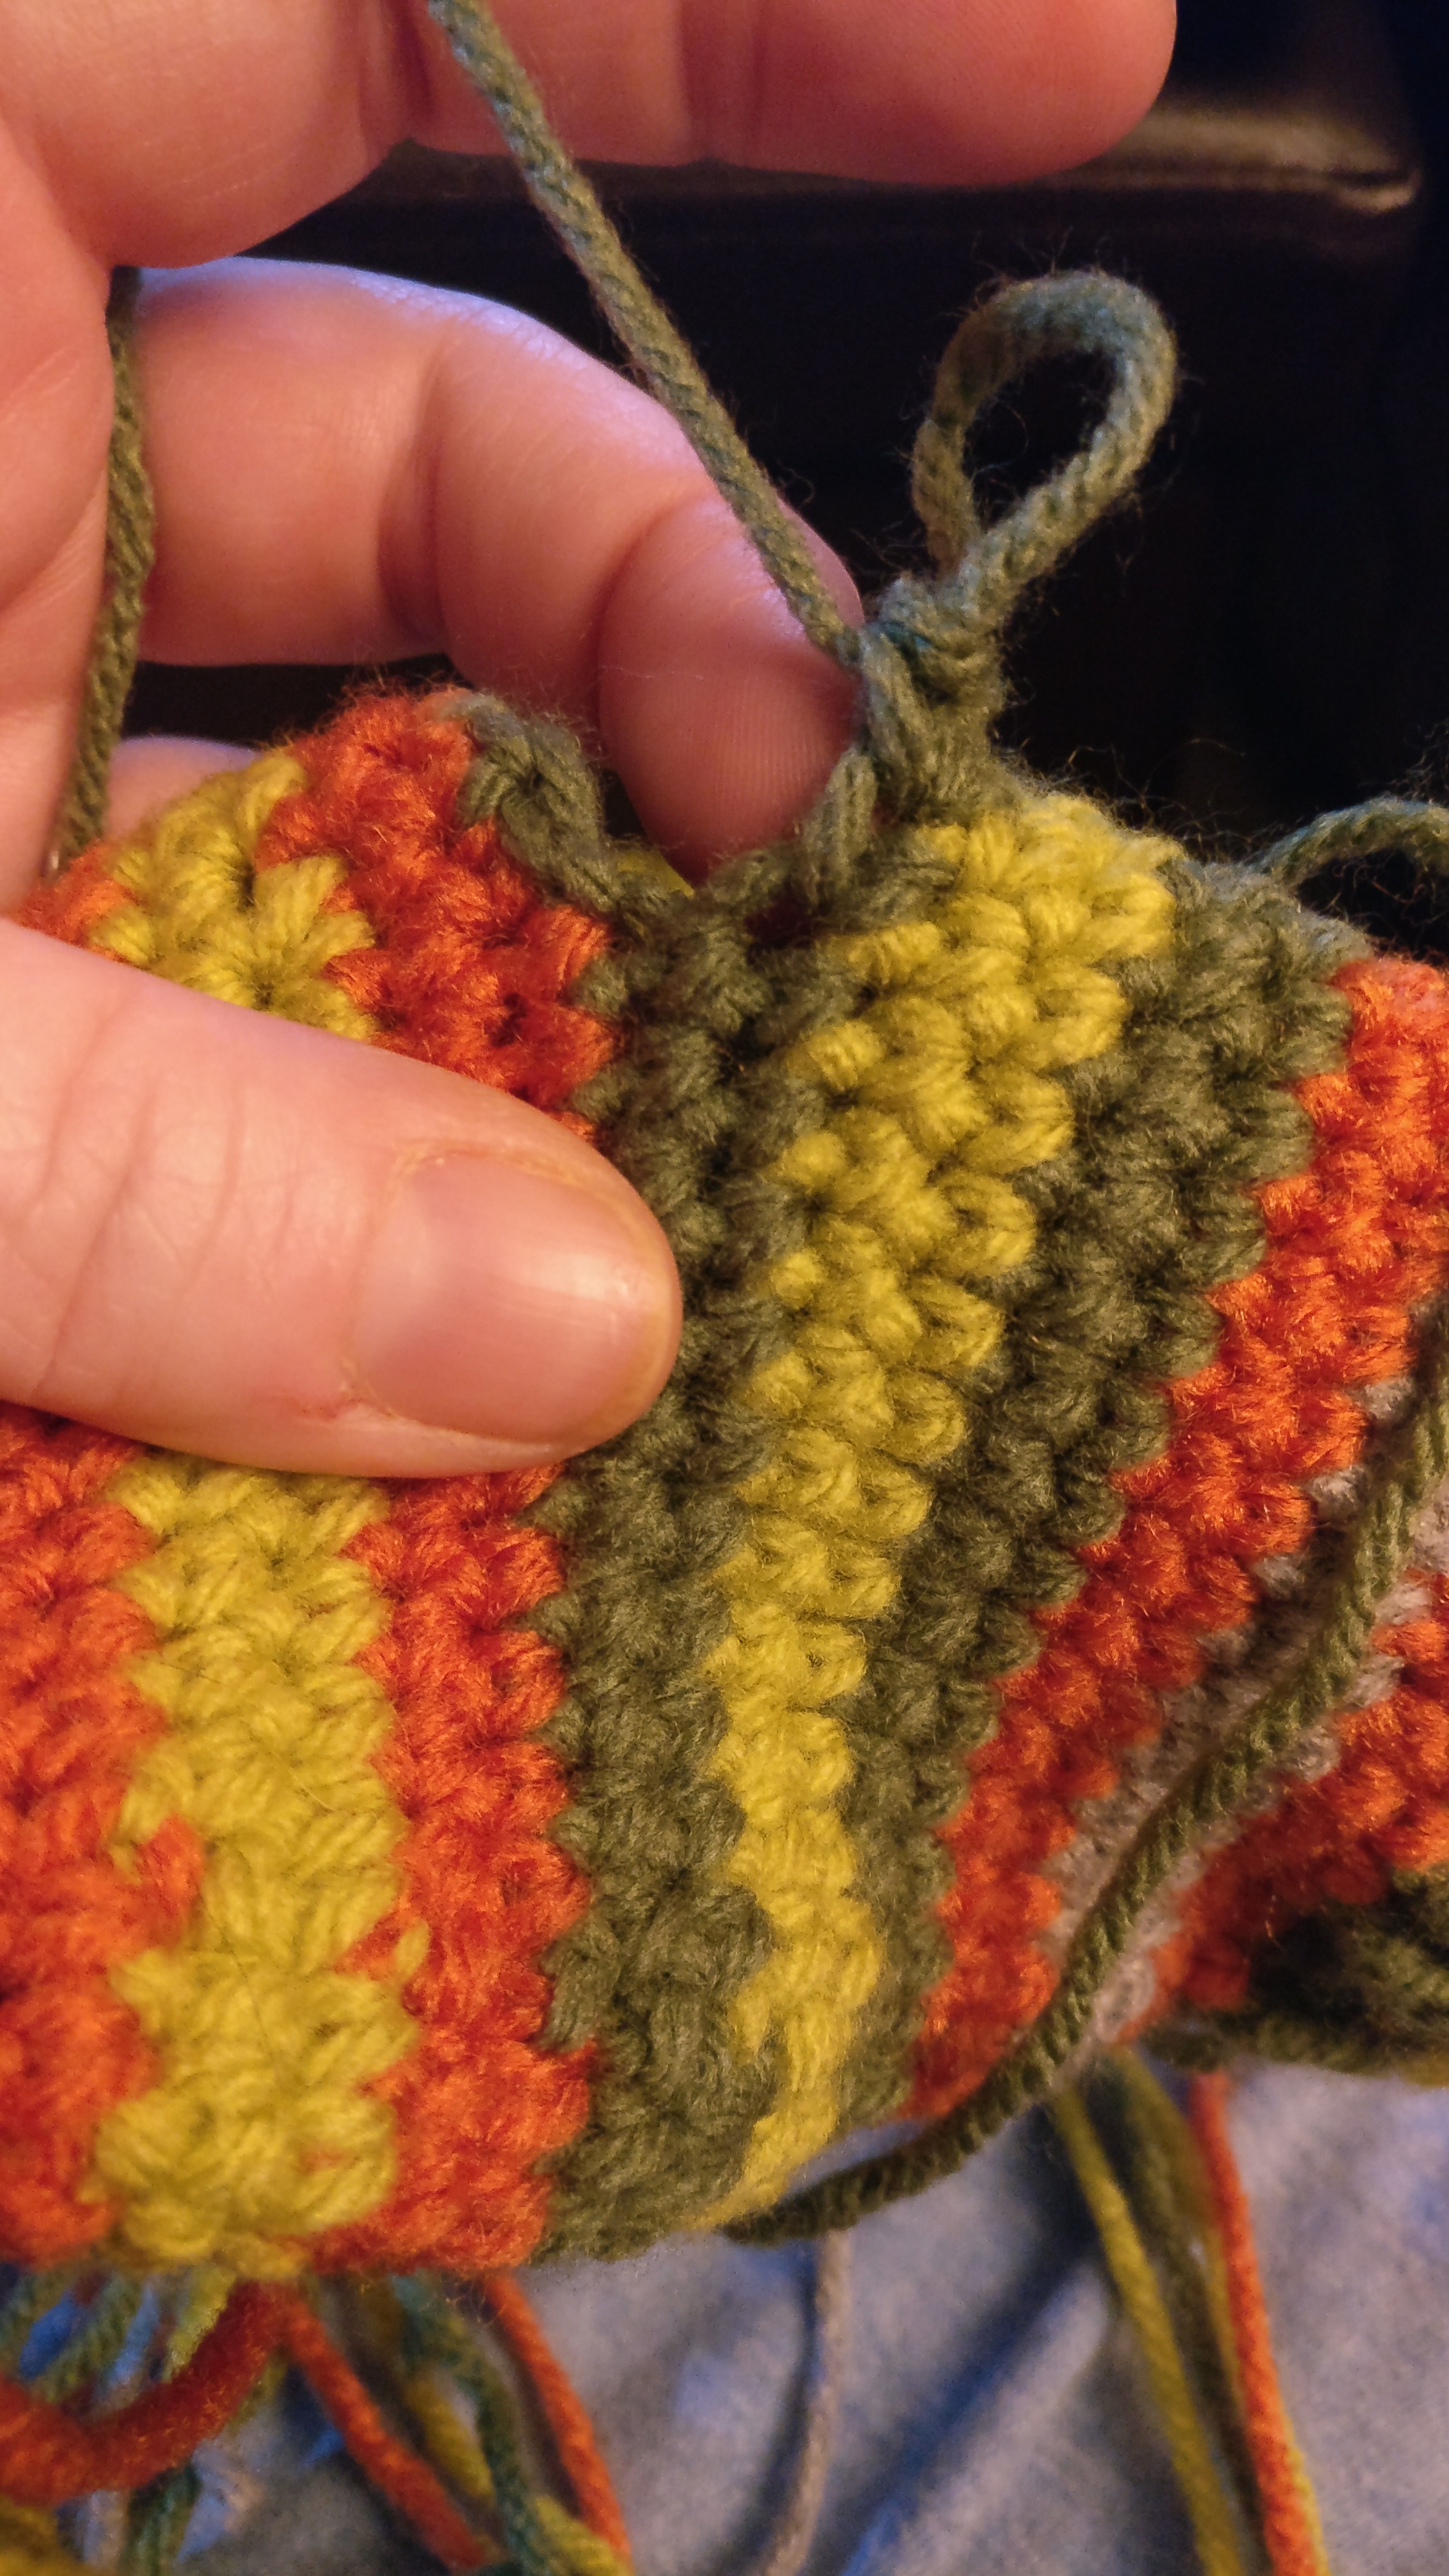
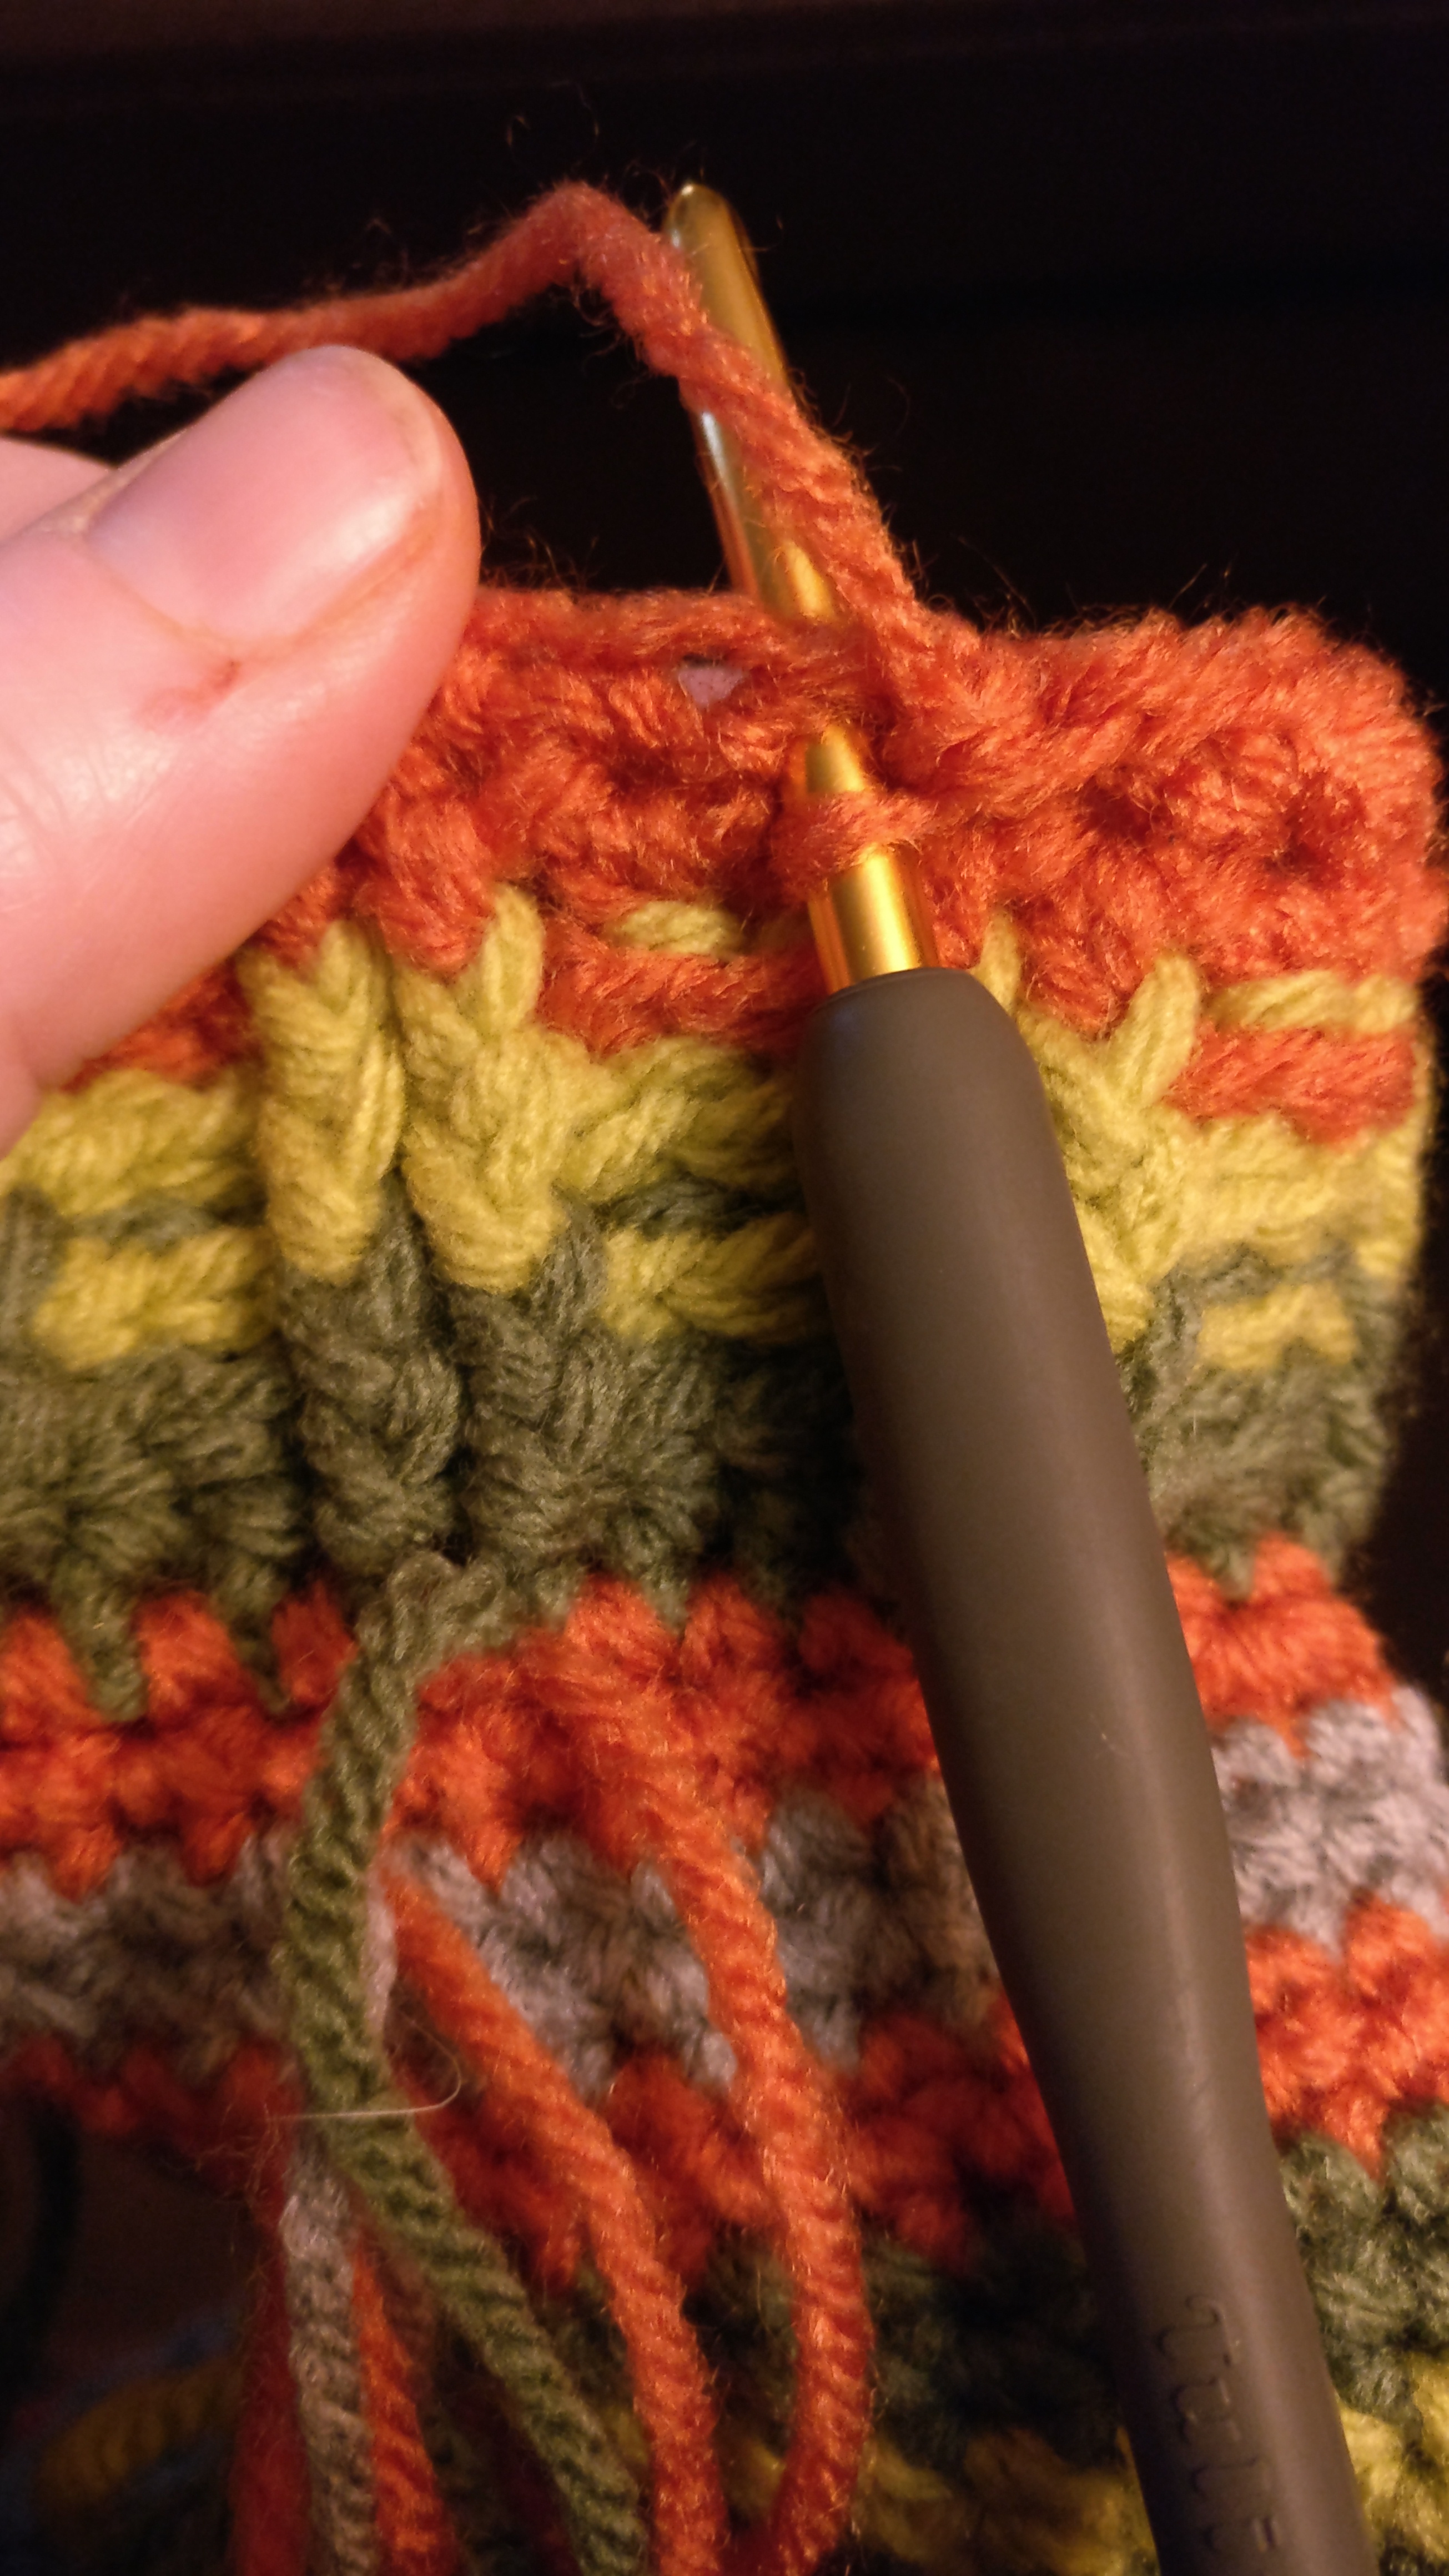
Note on color changes. I found it easier to change colors and then let the ends fall to the FRONT of your work. You so don’t want to have to try and turn the glove inside out to sew in the ends later. I didn’t carry the yarn as I usually would because I was afraid of any extra loops for fingers to get caught on. Most likely just my mind.
Note on fingers. When pulling up the yarn to start another finger I found that if I left an extra long beginning ‘end’ then it made it easier to sew the webbing of the fingers together later.
Make two, they are interchangeable on the sides… or make one. Who am I to tell you what to do?
Cuff:
RND 1: Starting with orange, 25 fsc (foundation single crochet or ch 25 and a round of sc), sl st to join. This measured 8″.
RND 2: ch 1(doesn’t count for a stitch), hdc around, sl st to join
RND 3: change to yellow green, ch 1, fphdc (front post half double crochet x2 stitches, bphdc (back post half double crochet) x2 around and ends with a single fphdc and sl st to join
RND 4: ch 1, fphdc in fphdc, bphdc in bphdc, end with single fphdc and sl st to join
RND 5-6: change to olive green and repeat RND 4
RND 7: change to orange and sc around, sl st to join
RND 8: ch 1, inc (increase), 1 sc in next 10 sc, inc in next 2 sc, 1 sc in next 10 sc, inc in next 2 sc, sl st to join
RND 9-10: change to gray and sc around then sl st to join
RNDS 11-12: change to orange and sc around then sl st to join
RNDS 13-14: change to olive green, ch 1 and sc around then sl st to join
RNDS 15-16: change to yellow green, ch 1 and sc around then sl st to join
RND 17: change to olive green, ch 1 and inc, sc 14, inc, sc to end, sl st to join
RND 18: ch 1, sc in next 14 sc, ch 6 and skip the next 6, sc to the end, sl st to join
RND 19: change to orange, ch 1, sc in next 14, sc in the next 6 ch, sc to the end, sl st to join
RND 20: ch 1, sc around, sl st to join
RND 21: change to yellow green, ch 1, sc next 12, dec (decrease), sc in next 5, dec, sc to the end, sl st to join
RND 22: ch 1, sc around, sl st to join
RND 23-24: change to orange, ch 1, sc around, sl st to join
PINKIE:
RND 1 – change to olive green, ch 1, 1 sc in next 7 sc, ch 3, sl st to first sc of this round
RND 2 – ch 1, sc in next 7 and in each ch, sl st to join
RNDS 3-5: change to yellow green, ch 1 and sc around, sl st to join
RNDS 6-8: change to gray, ch 1 and sc around, sl st to join
RND 9: ch 1, dec x5, sl st and cut yarn leaving a long end to weave through last stitches to pull close
RING FINGER
Using olive green pull up a loop in the last worked stitch from the pinkie, the 7th stitch from the beginning, then pull up another stitch immediately in the 8th stitch then pull through both loops on the hook.
RND 1 – Ch 1, sc in the 8th, 9th, and 10th st, ch 3, 1 sc in the third st from the baby finger on the other side of glove and the next stitch. Dec from the 3rd stitch and the first st of the backside of the pinkie, ch 3, sl st to join(make sure it is to the top of the first stitch and not the first loop)
RND 2 – ch 1, sc in each st and ch around, sl st to join
RNDS 3-5: change to olive green and ch 1, sc around, sl st to join
RNDS 6-8: change to gray and ch 1, sc around, sl st to join
RNDS 9-11: change to orange and ch 1, sc around, sl st to join
RND 12: ch 1, *dec, sc* x4, sl st to join
RND 13: ch 1, dec around, sl s to join leaving a long end to close
MIDDLE FINGER
Using olive green pull up a loop in the last worked stitch from the pinkie, the 10th stitch from the beginning, then pull up another stitch immediately in the 11th stitch then pull through both loops on the hook.
RND 1 – Ch 1, sc in the 11th, 12th, and 13th st, ch 3, 1 sc in the third st from the ring finger on the other side of glove and the next stitch. Dec from the 3rd stitch and the first st of the backside of the ring finger, ch 3, sl st to join(make sure it is to the top of the first stitch and not the first loop)
RND 2 – ch 1, sc in each st and ch around, sl st to join
RNDS 3-5: change to olive green and ch 1, sc around, sl st to join
RNDS 6-8: change to gray and ch 1, sc around, sl st to join
RNDS 9-12: change to orange and ch 1, sc around, sl st to join
RND 13: ch 1, *dec, sc* x4, sl st to join
RND 14: ch 1, dec around, sl s to join leaving a long end to close
INDEX FINGER
Using olive green pull up a loop in the last worked stitch from the middle finger, then pull up another stitch immediately in the next stitch then pull through both loops on the hook.
RND 1 – Ch 1, sc in next 4, inc, sc in next 3, Dec from the next stitch and the first st of the backside of the middle finger, ch 3, sl st to join(make sure it is to the top of the first stitch and not the first loop)
RND 2 – ch 1, sc in each st and ch around, sl st to join
RNDS 3-5: change to olive green and ch 1, sc around, sl st to join
RNDS 6-8: change to gray and ch 1, sc around, sl st to join
RNDS 9-11: change to orange and ch 1, sc around, sl st to join
RND 12: ch 1, *dec, sc* x4, sl st to join
RND 13: ch 1, dec around, sl s to join leaving a long end to close
THUMB
Join olive green at the first skipped stitch for the thumb.
RND 1 – ch 1 and sc in the next 6 of the skipped stitches. Place hdc dec using the st on each side of the ‘V’ of the thumb, space 6 sc across the back of the ch, hdc dec in the ‘V’ then sl st to join
RNDS 2-4: change to orange, ch 1, sc around, sl st to join
RNDS 5-7: change to yellow green, ch 1, sc around, sl st to join
RNDS 8-9: change to orange, ch 1, sc around, sl st to join
RND 10: ch 1, *dec, sc* x4, dec, sl st to join
RND 11: ch 1, dec around, sl st to join leaving a long end to close
Now do a sc round at the bottom/beginning of the glove to make it look more finished. I do prefer to crochet in the second available hole down, not what would be the back of the chain.
Go put on a good show that you enjoy and get to weaving in the ends and complaining how much they better love these gloves and never want to go without them….
Don’t forget to sew the webbing together. Else that’s exactly where they are going to stick their fingers then look at you wondering what’s wrong and you are going to look at them swearing you thought they were smarter than that.
That’s it then.
Mad Hooking!

Let me start by saying, I’ve never knit or crocheted in my life, but my wife recently mentioned that she liked Coralines gloves, and I want to make them for her.
Do you think this is an easy enough project that someone with no previous experience can manage?