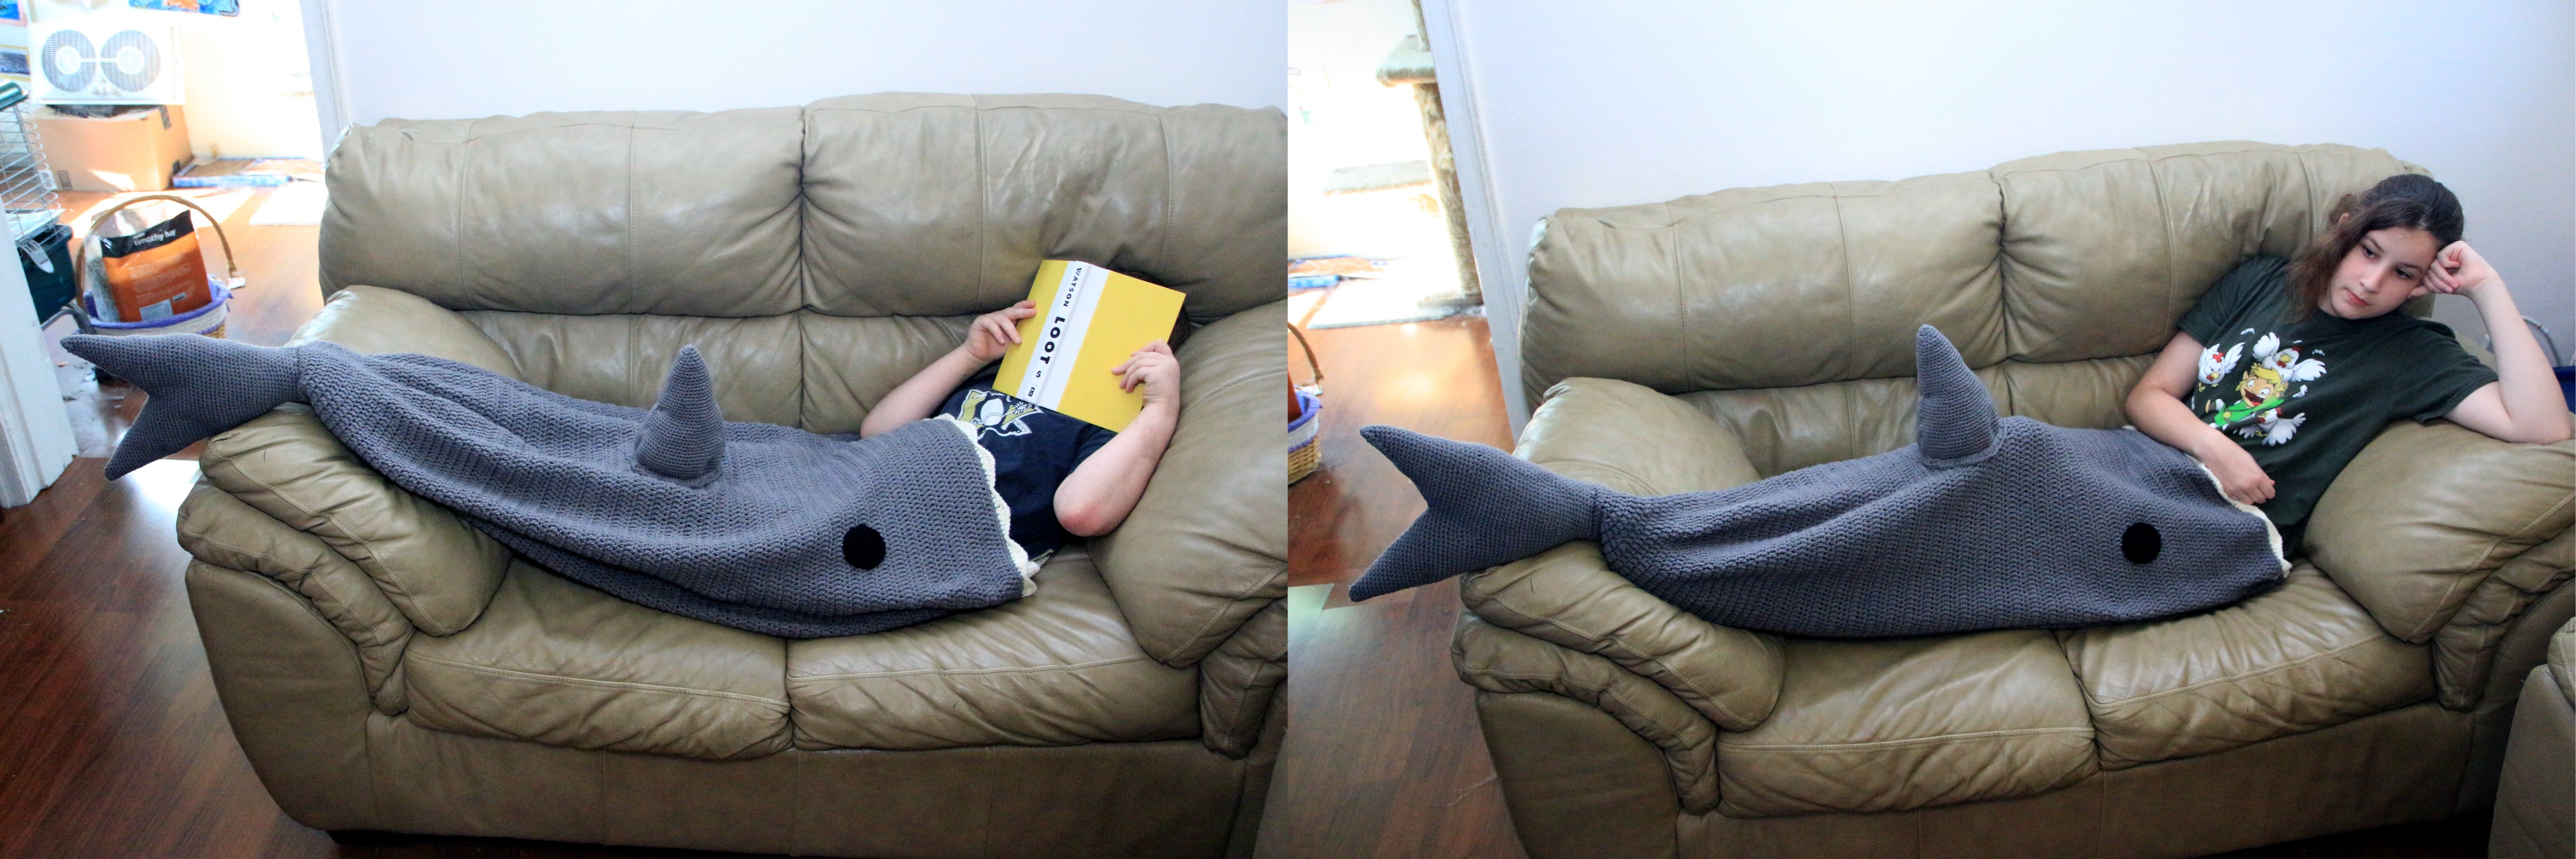
I cannot tell you how many requests I got for one of these. Of course I wasn’t going to revisit my problem from before of buying a pattern, especially when it is so close to my mermaid lapghan… So disclaimer, this was my first run on it and the pattern hasn’t been retested. I hope you like it.
This pattern is for an adult sized shark lapghan. That being said, check the measurements (approximately 41 inches wide by 41 inches long). It is also perfect for a young adult to be able to grow into.
As with all patterns, look ahead and see if this is what you want to do. My take on this one is a little different than some others.
A note on the Polyfil. I used it and the lapghan is still washable. However it can make the tail fin a bit heavier. How it is constructed it will hold its shape decently without it, but I wanted to show it stuffed… And it had been my original thought.
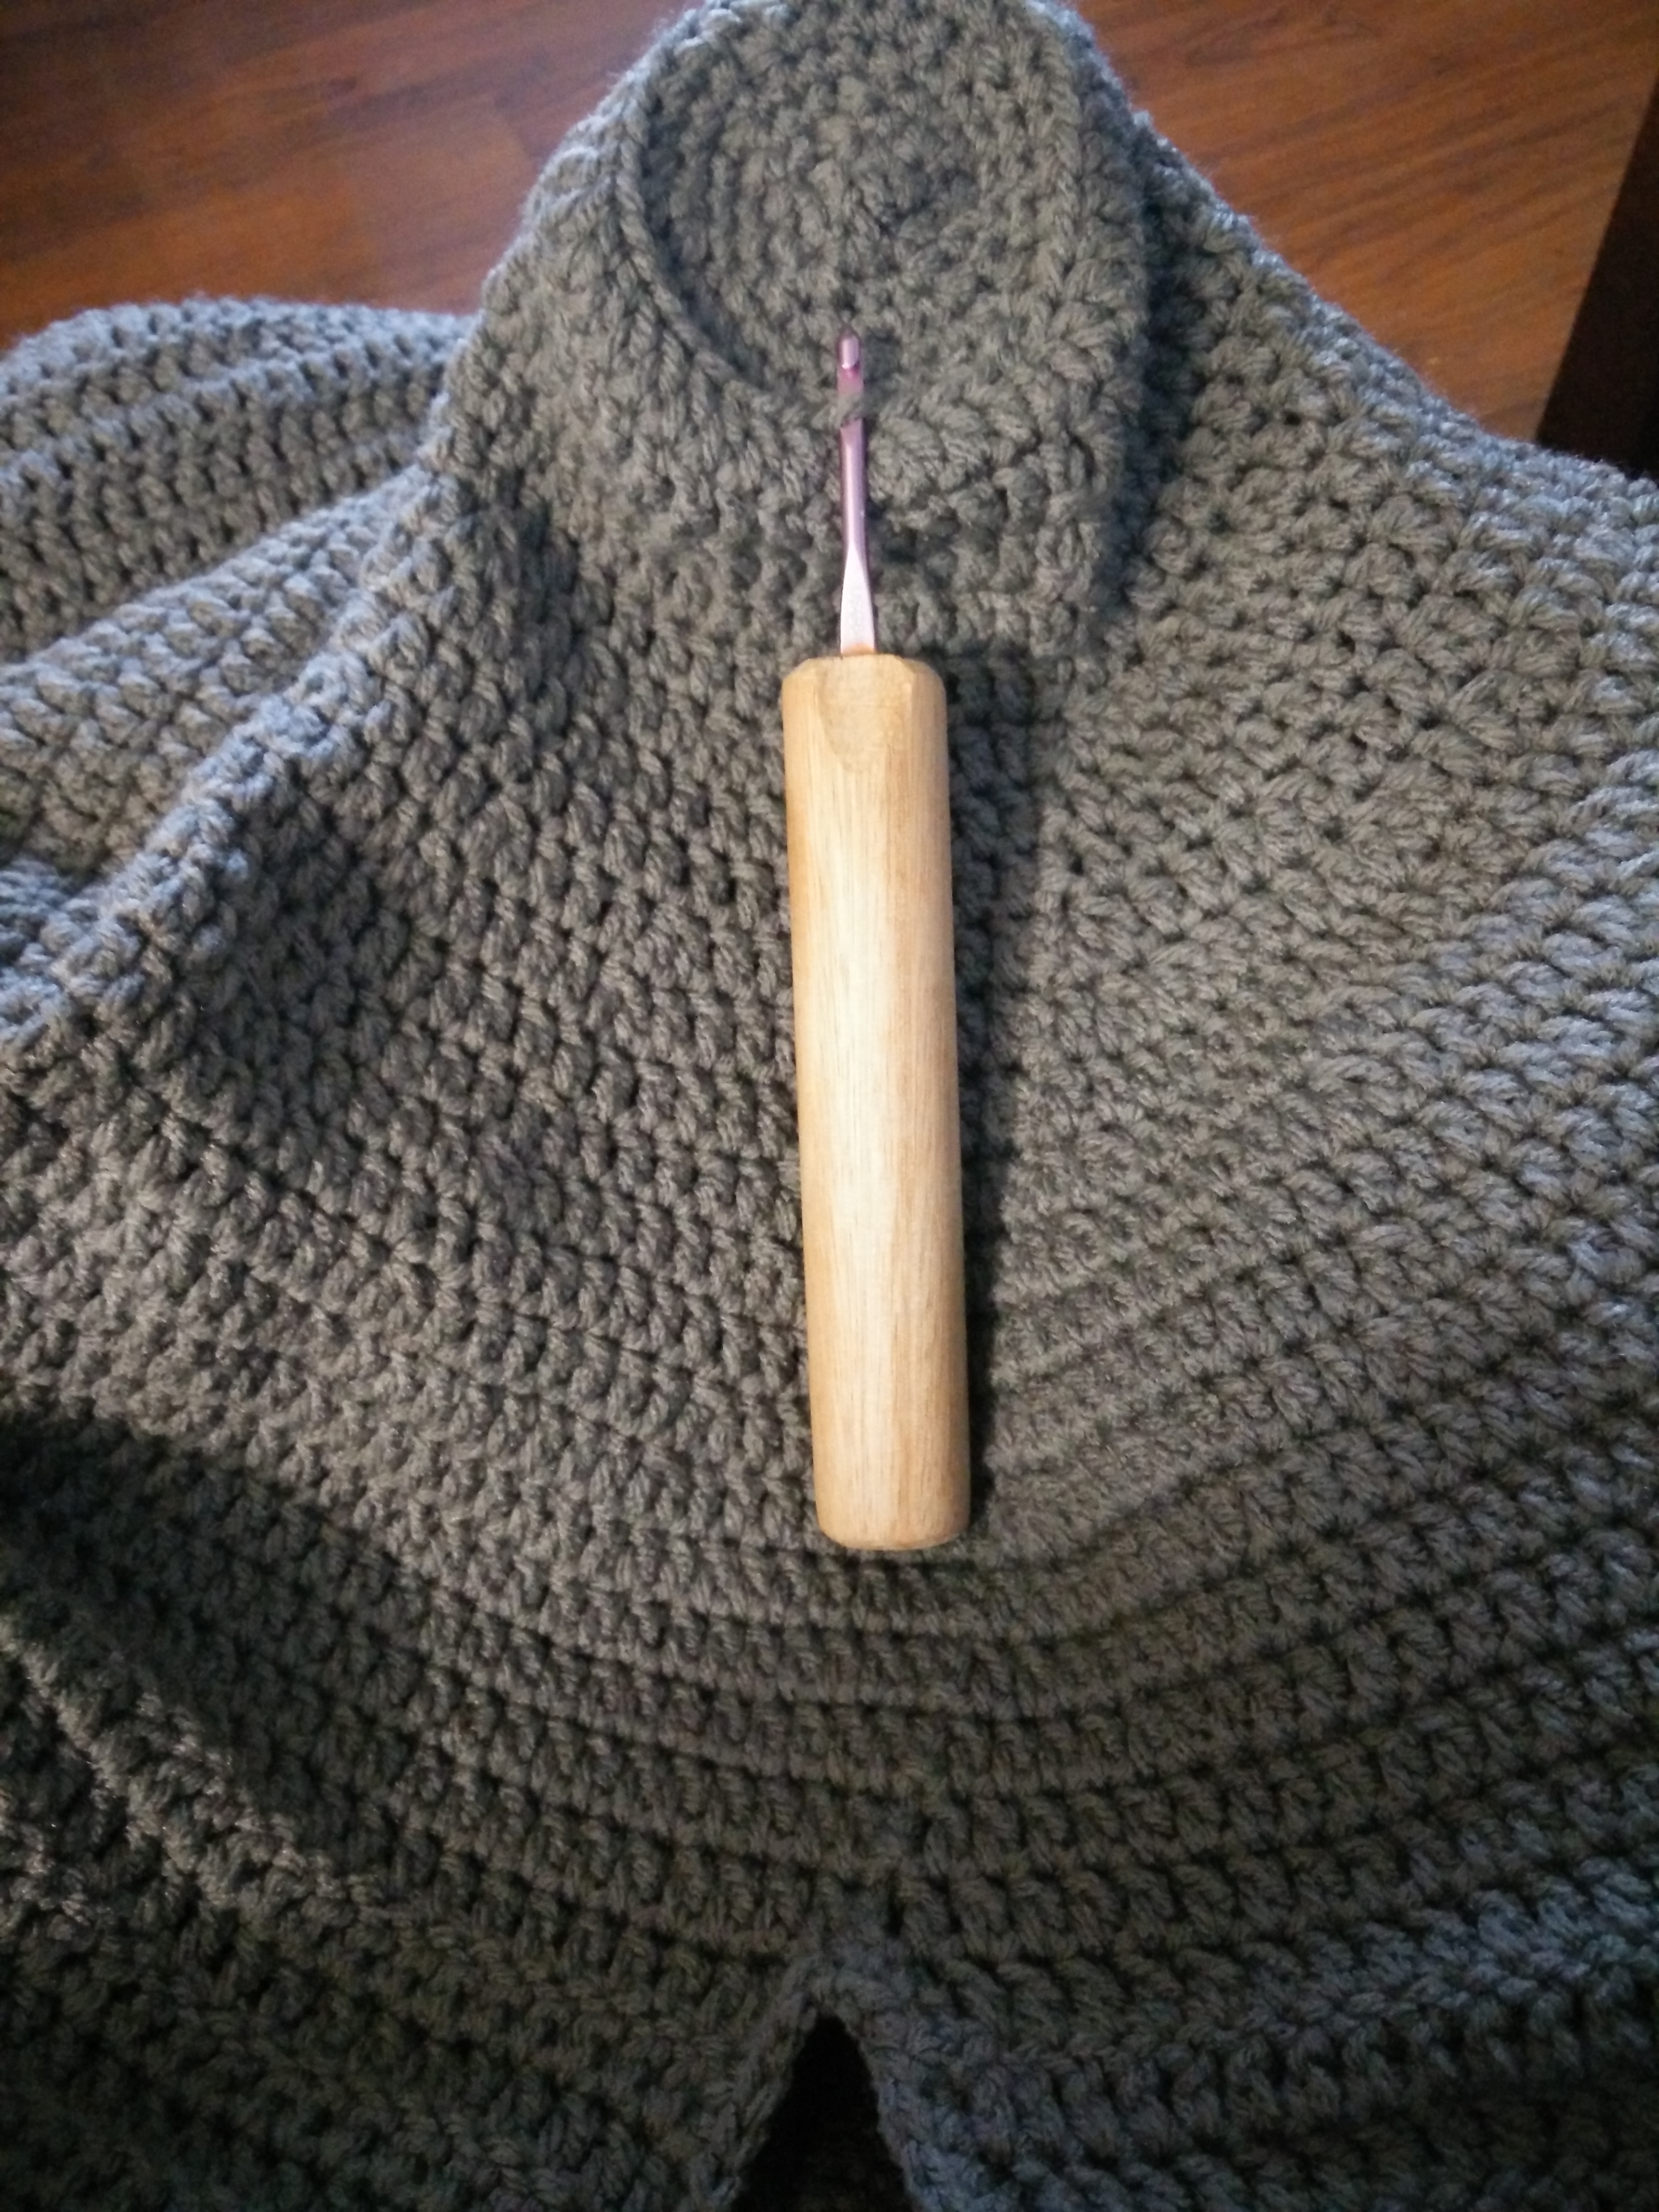
G and H size hooks
Grey yarn (I used Red Heart I Love this Yarn. It took roughly 4 skeins of grey.)
White yarn (small amount, just for the teeth)
Black yarn (really small amount, just for the eyes)
Polyfil (if desired)
Stitch markers if you like
To start, ch 152 (this gave me a width of 41″)
Row 1: dc in third chain and across, ch 2 (150 dc with ch 2 NOT counting as a stitch)
Row 2-64: dc in each st across (do not skip 1st st), ch 2 and turn (150 dc with a total length of 28″)
Row 65: dc in each st across but do not turn. Sl st in the first dc of the row, bringing both sides together, ch 2, do not turn.
We will now continue on in rounds. Note: this pattern has only been done once as of right now. Don’t stress about exactness of the decreases. If you need to add a dc or two at the end of the round, meh. It will work out fine. The lapghan will not implode. It will work out just fine.
Round 66-70: dc in same as join and in each dc around, sl st to first dc, ch 2.
Round 71: dc same as join, dc in next 7. Dc2tog (dc decrease), *dc in next 8, dc2tog* sl st to first dc, ch 2.
Round 72: dc same as join, dc in next 6. Dc2tog (dc decrease), *dc in next 7, dc2tog* sl st to first dc, ch 2.
Round 73: dc same as join and around.
Round 74: dc same as join, dc in next 5. Dc2tog (dc decrease), *dc in next 6, dc2tog* sl st to first dc, ch 2.
Round 75: dc same as join, dc in next 4. Dc2tog (dc decrease), *dc in next 5, dc2tog* sl st to first dc, ch 2.
Round 76: dc same as join and around.
Round 77: dc same as join, dc in next 3. Dc2tog (dc decrease), *dc in next 4, dc2tog* sl st to first dc, ch 2.
Round 78: dc same as join, dc in next 2. Dc2tog (dc decrease), *dc in next 3, dc2tog* sl st to first dc, ch 2.
Round 79-80: dc same as join and around.
Round 81: dc same as join, dc in next st. Dc2tog (dc decrease), *dc in next 2, dc2tog* sl st to first dc, ch 2.
Round 82-83: dc same as join and around.
Round 84: dc same as join, dc in next 2. Dc2tog (dc decrease), *dc in next 3, dc2tog* sl st to first dc, ch 2.
Round 85-86: dc same as join and around.
NOTE: At the end of round 86 you should have 36 stitches. What if you don’t? Either add (increase) how many you need or subtract (decrease) so you are at this number. You should be close if not dead on, so it will be fine. Truly, it will be. Don’t worry.
Switch to a size G hook. Use a stitch marker for the beginning of the rounds if needed.
Round 87: in BACK LOOPS ONLY, sc in same as join, sc in next 4. Sc2tog (sc decrease), *Sc in next 5, sc2tog* around. Do NOT sl st, we are going to spiral the rest of the way close.
Round 88: working in both loops and starting in the first sc from the previous round, *sc in next 4, sc2tog*around.
Round 89: *sc in next 3, sc2tog*around.
Round 90: *sc in next 2, sc2tog*around.
Round 91: *sc in next 1, sc2tog*around.
Round 92: sc2tog around. Bind off, leave a long tail to sew close.
Join grey at the ‘v’ in the back of the lapghan, where you switched from rows to rounds and with your H hook, sc around the entire opening placing 3 sc in the top corners. Bind off and weave in your ends.
Teeth
White yarn
H hook
Attach yarn to top corner.
Row 1: *Sc, hdc, hdc, dc and tc in next, tc and dc in next, hdc, hdc, sc, sl st, sl st* across. Bind off, weave in ends.
Row 2: attach yarn to first sc and sc in each st until the tc. In first tc, sc, ch 1. sc until the sl st then sl st in those. Continue down the line and then bind off, weaving in the ends.
Now on to the fins. This is where I have made up about twenty different styles and decided on these. I wanted to be able to add some polyfil to keep the shape, but keep them washable. That made me decide on making them like amigurumi so bear with me on this one.
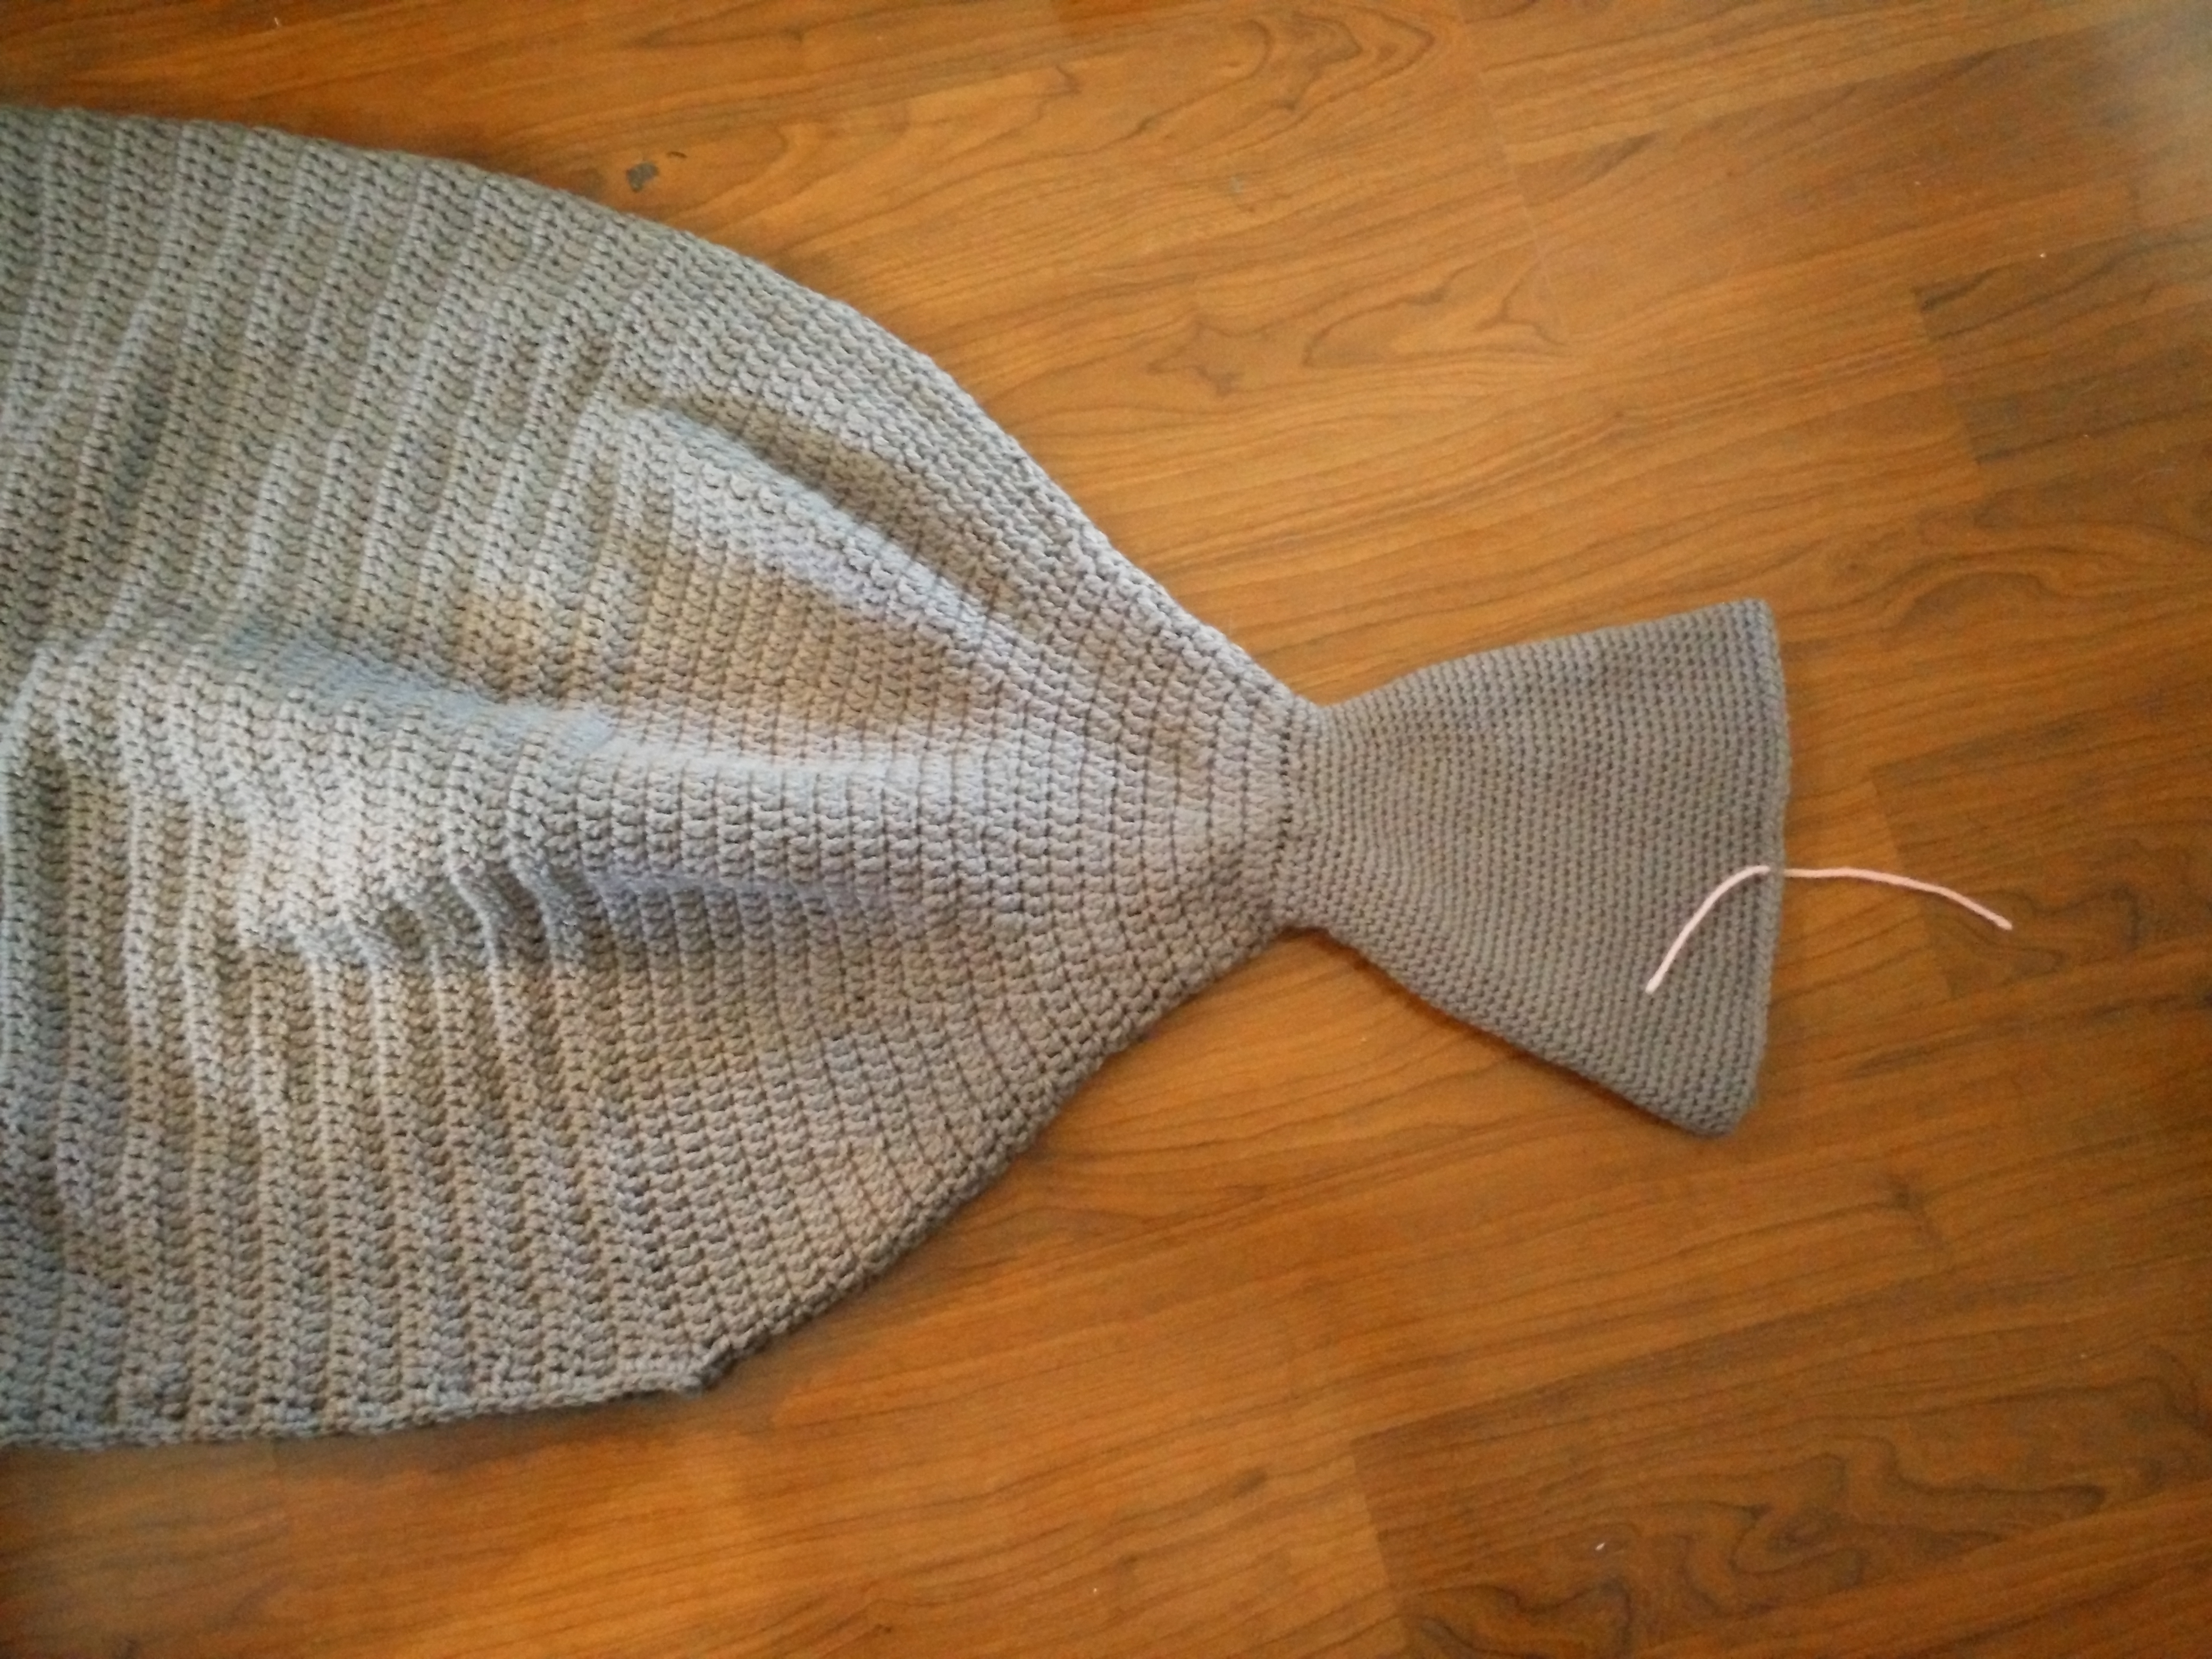
Tail fin
G hook
Grey yarn
Polyfil (if desired)
Stitch markers
Now I made these so that once you saw the stitch pattern repetition you could adjust as needed if you want. Adding rounds or doing less rounds… That sort of thing.
Attach your yarn to the front loops of round 87.
Round 1-5: sc around do NOT join at the end of every round. We will be working in a spiral. Use stitch markers if needed. Also, you should have 36 sc in each round. If not, just decrease or increase as needed.
Round 6: *2 sc in next, sc in next 6* around
Round 7: sc around
Round 8: *2 sc in next, sc in next 7* around
Round 9: sc around
Round 10: *2 sc in next, sc in next 8* around
Round 11: sc around
Round 12: *2 sc in next, sc in next 9* around
Round 13-15: sc around
Round 16: *2 sc in next, sc in next 10* around
Round 17-19: sc around
Round 18: *2 sc in next, sc in next 11* around
Round 19-21: sc around
Round 22: *2 sc in next, sc in next 12* around
Round 23-25: sc around
Round 26: *2 sc in next, sc in next 13* around
Round 27-29: sc around
Round 30: *2 sc in next, sc in next 14* around
Round 31-33: sc around
Round 34: *2 sc in next, sc in next 15* around
Round 35-37: sc around, bind off.
Now, fold your lapghan in half (bringing the edges of the V together) on the floor. Smooth out the tail fin so it is flat as well and mark the roughly half way spot. This is where you are going to attach your yarn through both thickness.
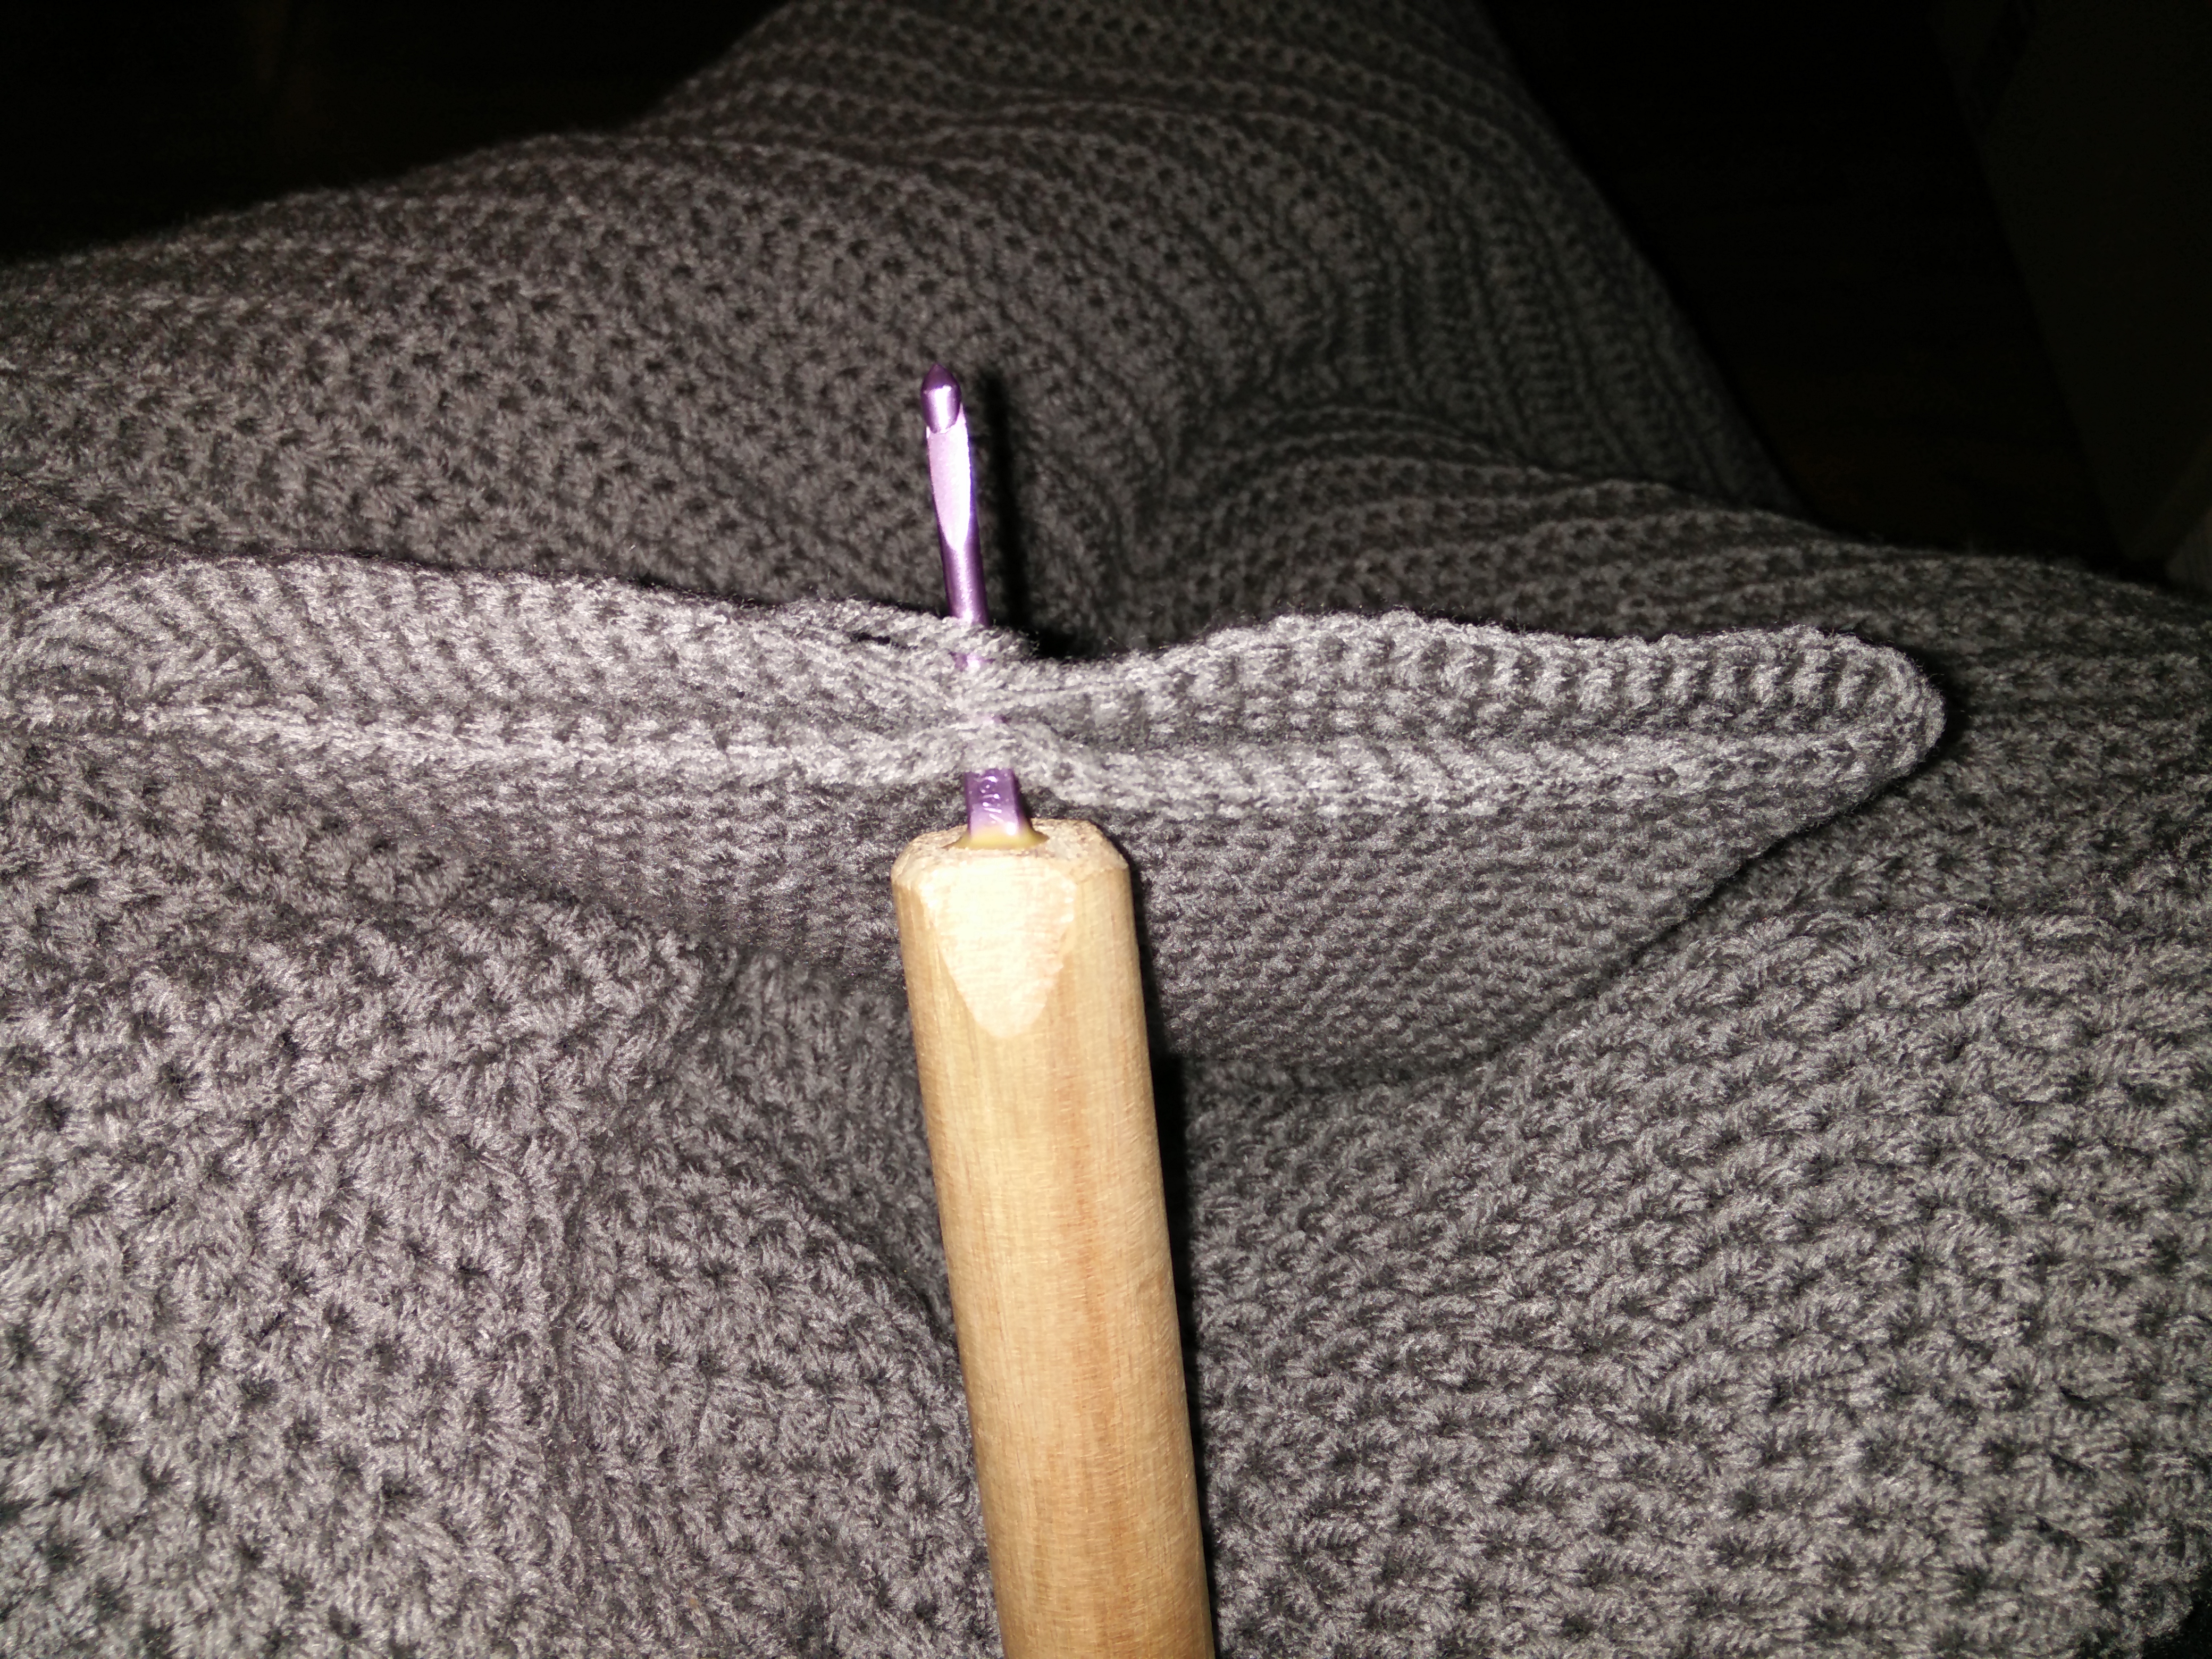
Round 38: sc in same as join and sc around until you get back to the stitch before the join. Now sc2tog the last stitch and the first stitch you made. Mark this stitch.
Round A 39-close: sc around until last stitch before join then sc3tog. Note the 3. It is the stitch before the tog stitch, tog stitch and the 1st sc of the next round. Also, when I say close it is to keep going in spirals until you only have 6 st left. Then you cut your yarn and sew the rest close. Stuff the fin if desired.
Round B 39-close: do the exact same as Round A. Continue to stuff if needed.
Dorsal (top) fin
G hook
Grey yarn
Polysilicon (if desired)
Stitch markers
Round 1: 6 sc in a magic circle
Round 2: sc around
Round 3: 2 sc in each st around
Round 5-6: sc around
Round 7: *2 sc in next st, sc next* around
Round 8-9: sc around
Round 10: *2 sc in next st, sc next 2* around
Round 11-13: sc around
Round 14: *2 sc in next st, sc next 3* around
Round 15-17: sc around
Round 18: *2 sc in next st, sc next 4* around
Round 19-21: sc around
Round 22: *2 sc in next st, sc next 5* around
Round 23-25: sc around
Round 26: *2 sc in next st, sc next 6* around
Round 27-30a: sc around
Round 31: hdc in next st, dc in next 2, *2 dc in next st, dc in next 3* around. Sl st to first hdc, bind off leaving a LONG tail for sewing. (Now don’t worry if this row doesn’t come out perfect. It is only to make it easier to attach the fin to the lapghan. Technically you don’t have to have it, but it makes life easier.)
Round 32: attach your yarn to the unworked (back loops) of round 31. *Sc in the next 6, sc2tog* around (note: I didn’t keep exact count because I forgot to honestly. Working nights does that to you. Don’t stress if the rounds don’t work up perfectly. It’s just to help keep the stuffing in.)
Round 33: *Sc in the next 5, sc2tog* around
Round 34: *Sc in the next 4, sc2tog* around
Round 35: *Sc in the next 3, sc2tog* around
Round 36: *Sc in the next 2, sc2tog* around
Round 37: *Sc in the next 2, sc2tog* around. Go ahead and stuff the fin if desired.
Round 38: *Sc in the next 1, sc2tog* around
Round 39: *Sc in the next 1, sc2tog* around
Round 40: *sc2tog* around. Bind off and sew close. Now I then placed about 5 stitches in the middle of the fin to make it angle back more. Not strictly necessary, but it made sense to me.
Sew the top fin in the middle top of blanket. Pin in place before sewing to make your life a little easier.
Eyes
Black yarn
H hook
Round 1: 12 dc in a magic circle, sl st to first dc, ch 2
Round 2: 2 dc in first dc and in every dc around, sl st to first, bind off and leave a long tail for sewing.
Sew eyes on either side of the top fin, about halfway from the top to the fin.
And that’s it!
Mad hooking!

JUST THANK YOU, THANK YOU, THANK YOU!!!
How do I sew the dorsal fin to the blanket??
HOW DO I SEW THE DORSAL FIN TO THE BLANKET? Thanks.
which hook do you use for the body? you did not mention it at the beginning of the instructions. thanks.
Rows 2-64 says not to skip the first stitch when you turn. This is adding a stitch to each row? Mine is definitely increasing after 6 rows, am I missing something?
Does anyone have a pattern for a knitted mermaid lapghan or a shark or whale afghan for a boy.
I would really appreciate it if you would share them
Thank you
Caroline
Love the placement of the fin in the picture. My oldest granddaughter is still chuckling. That said, it looks like a wonderful gift for a friend of ours. Thank you for posting.
In her Bathtime Buddies crochet book, Megan Kreiner recommends a foam stuffing that is waterproof – might work well for the tail.